Recent Etsy Treasuries

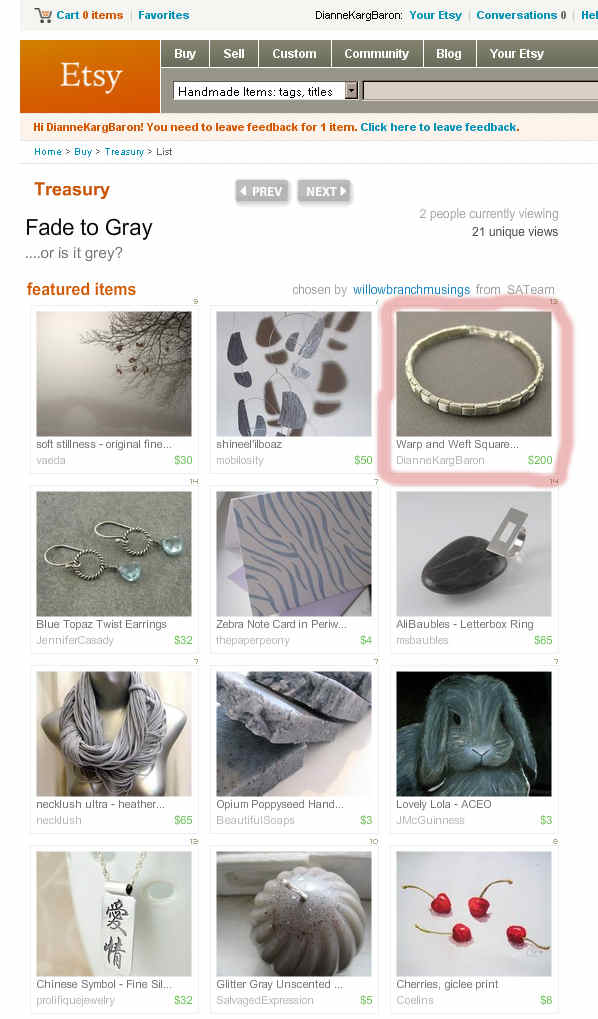
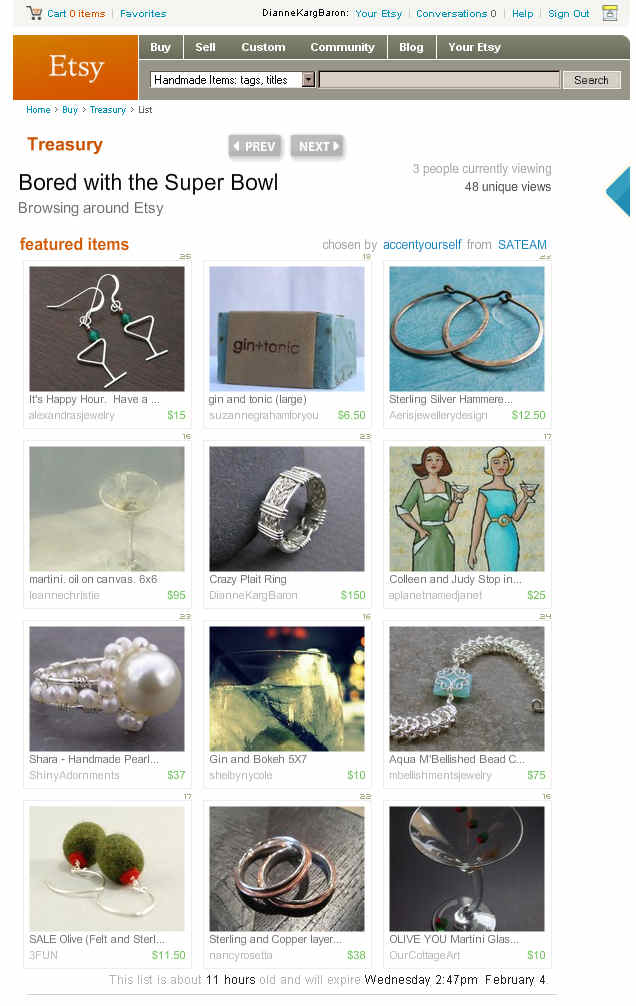
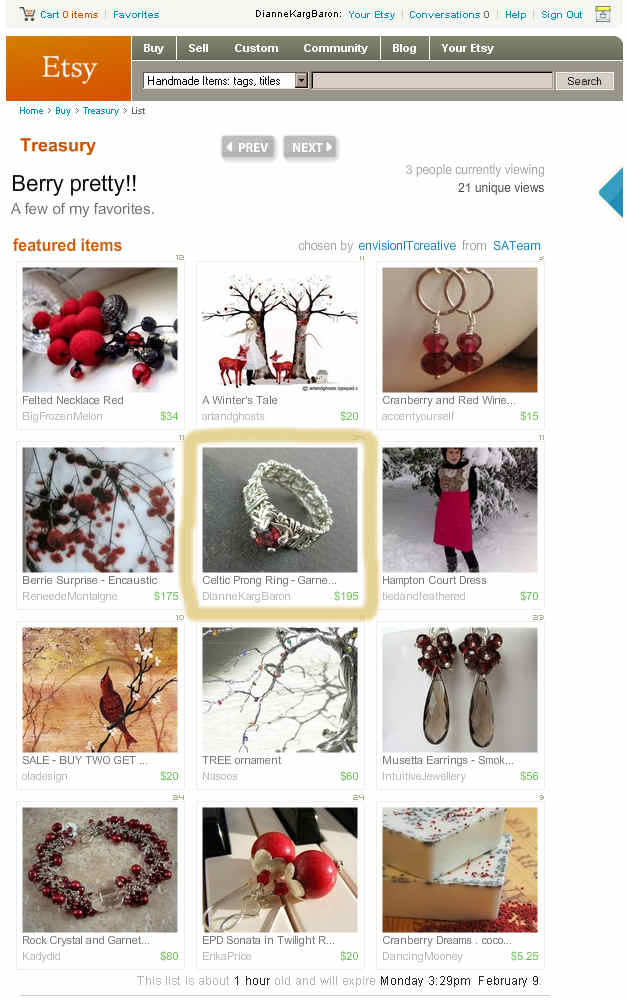
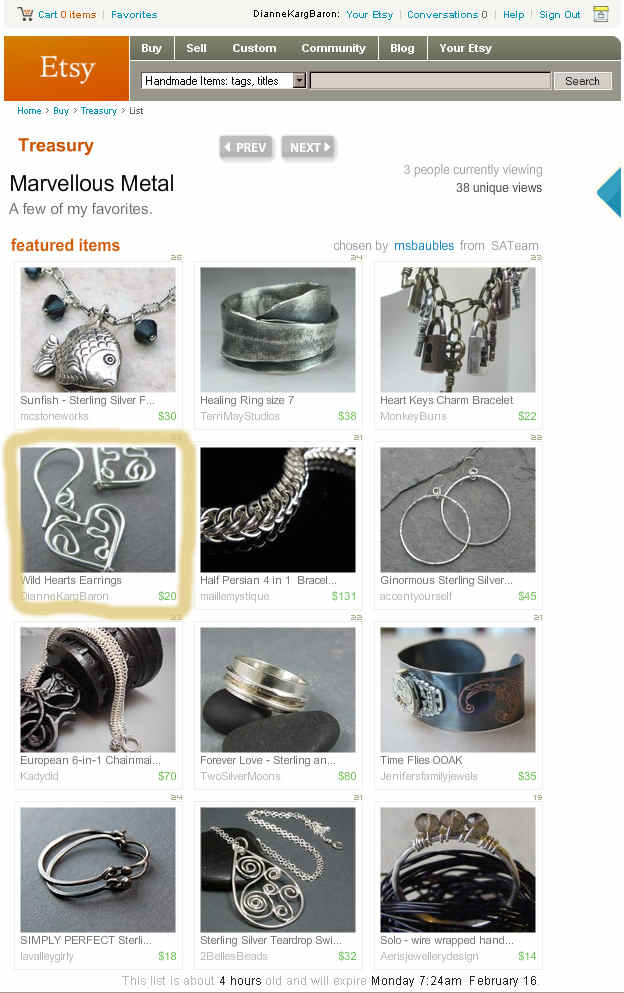
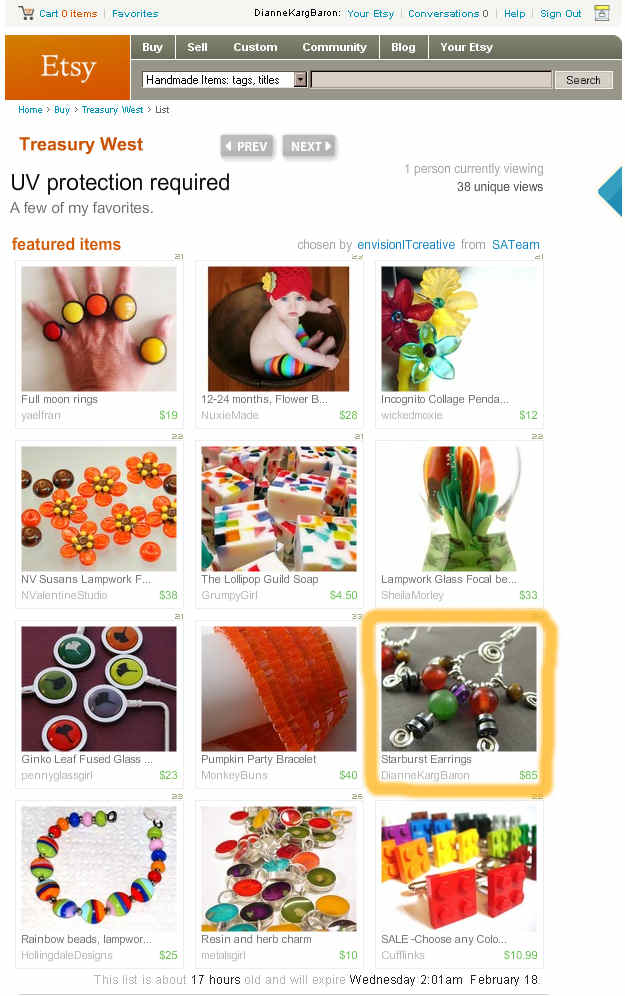
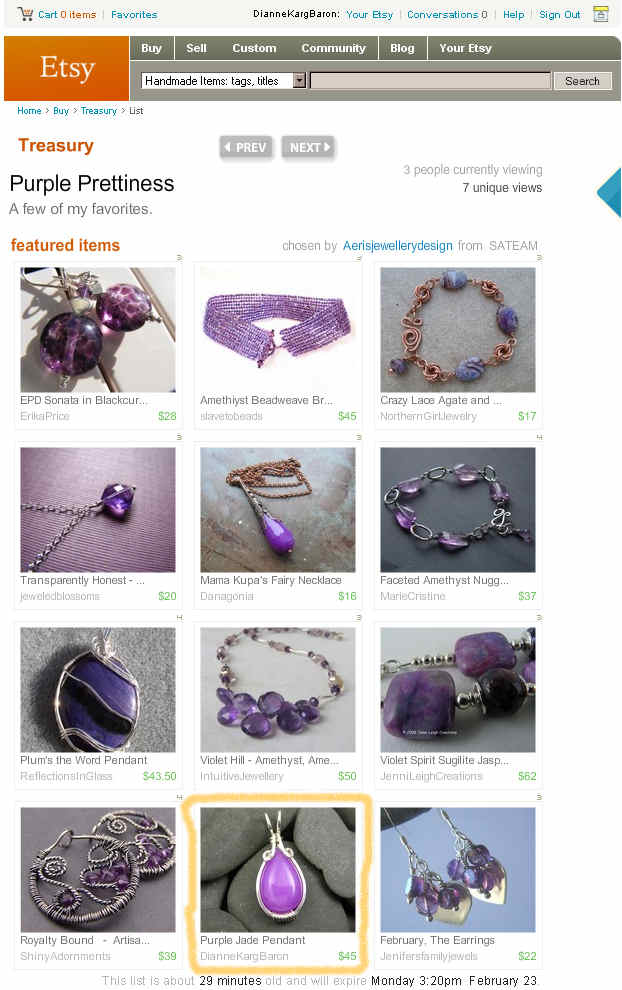
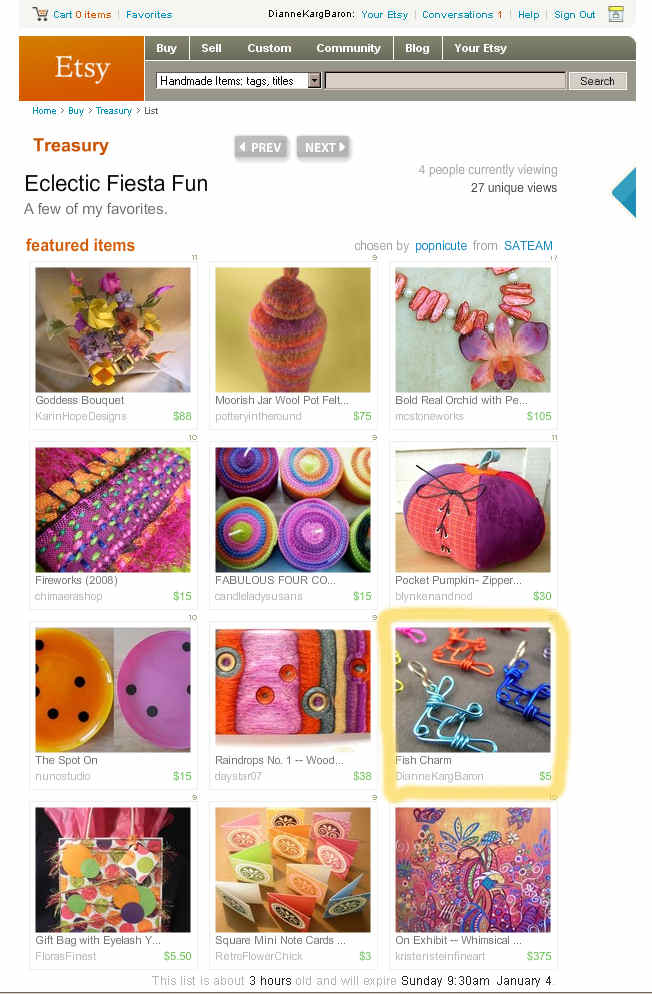
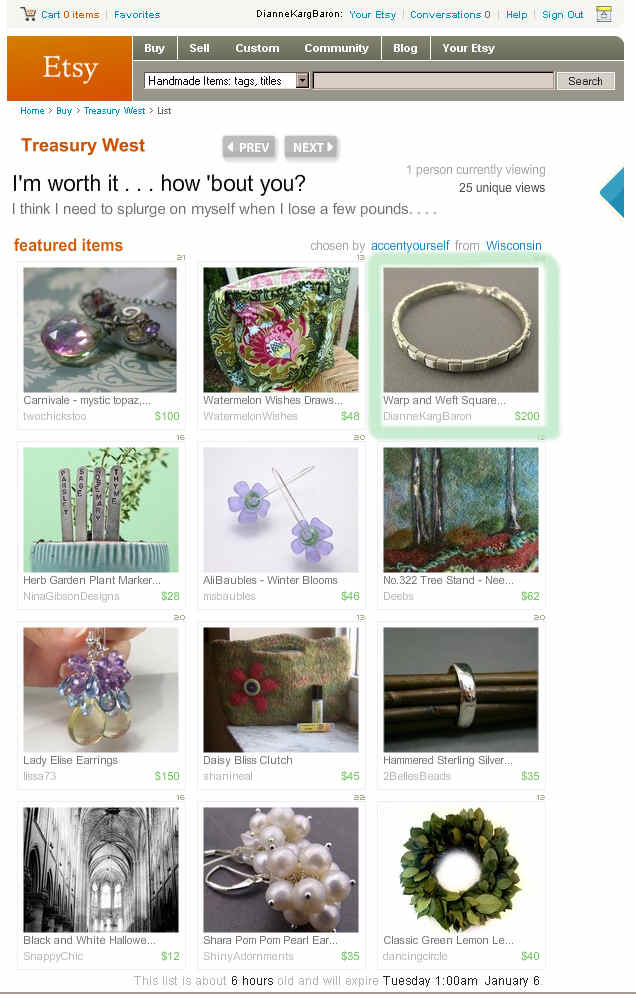
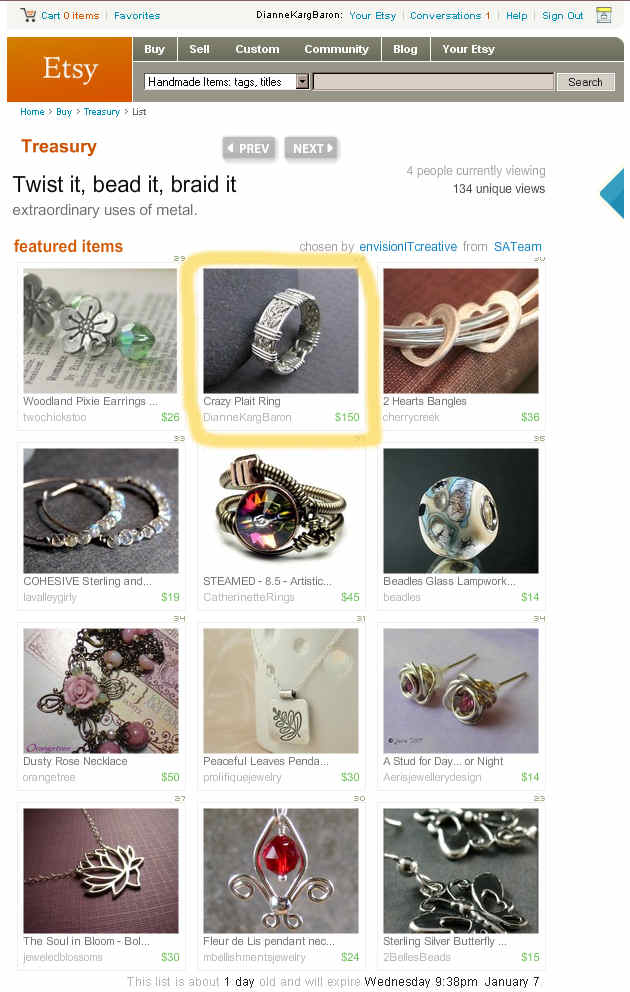
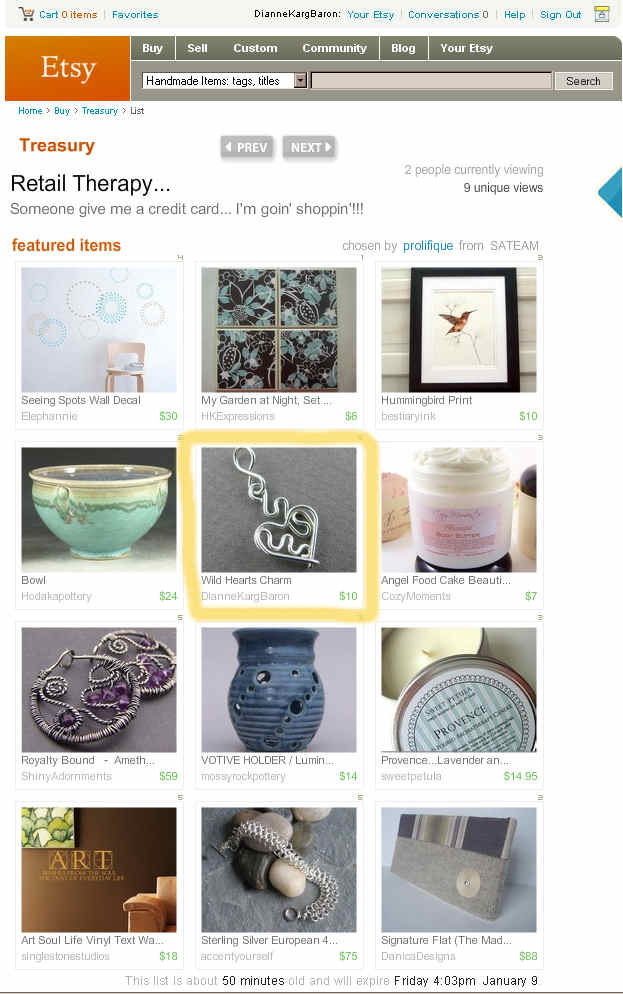
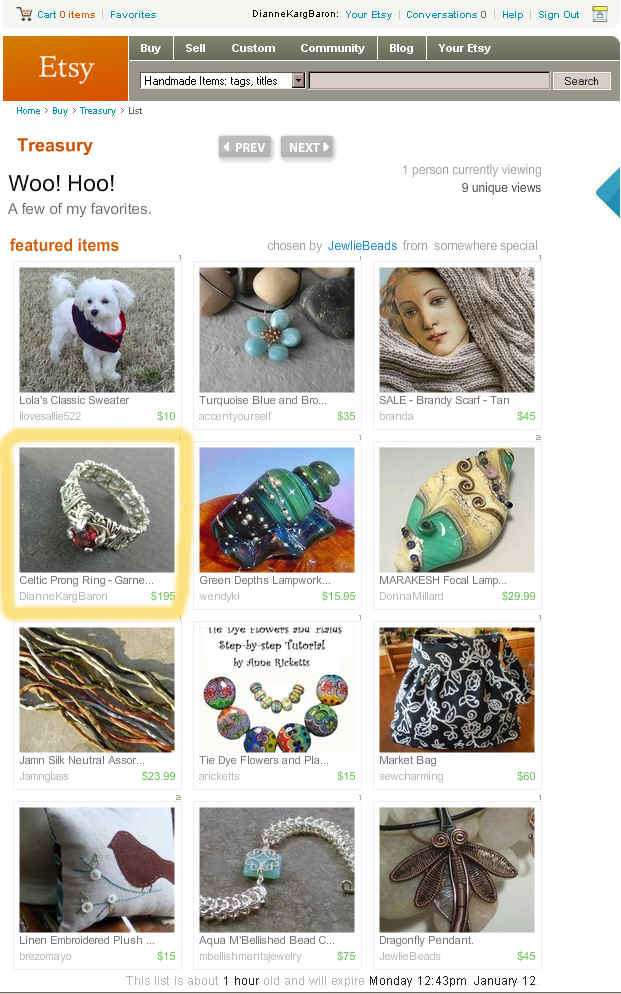
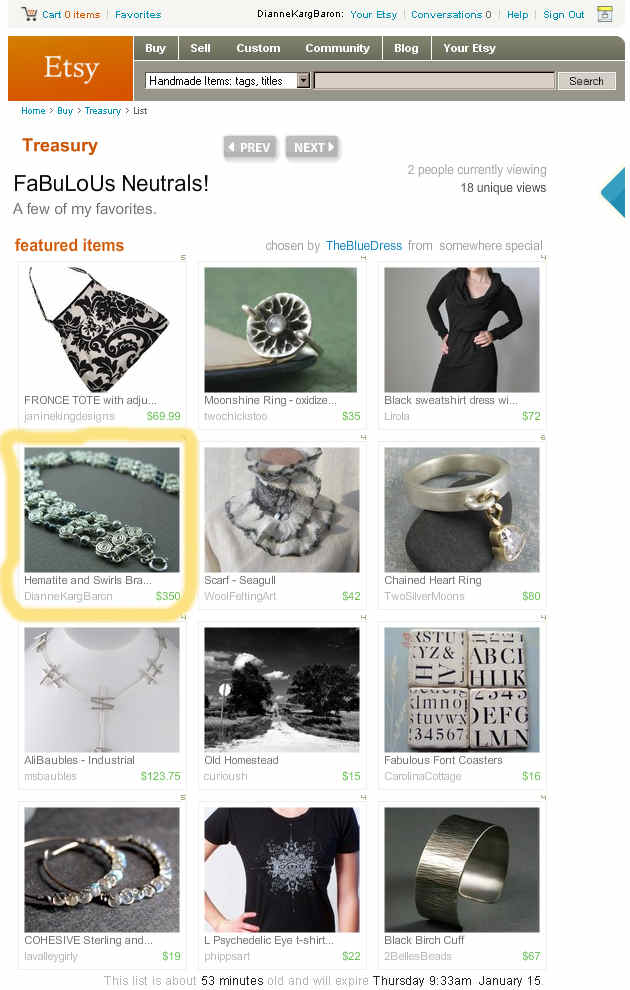
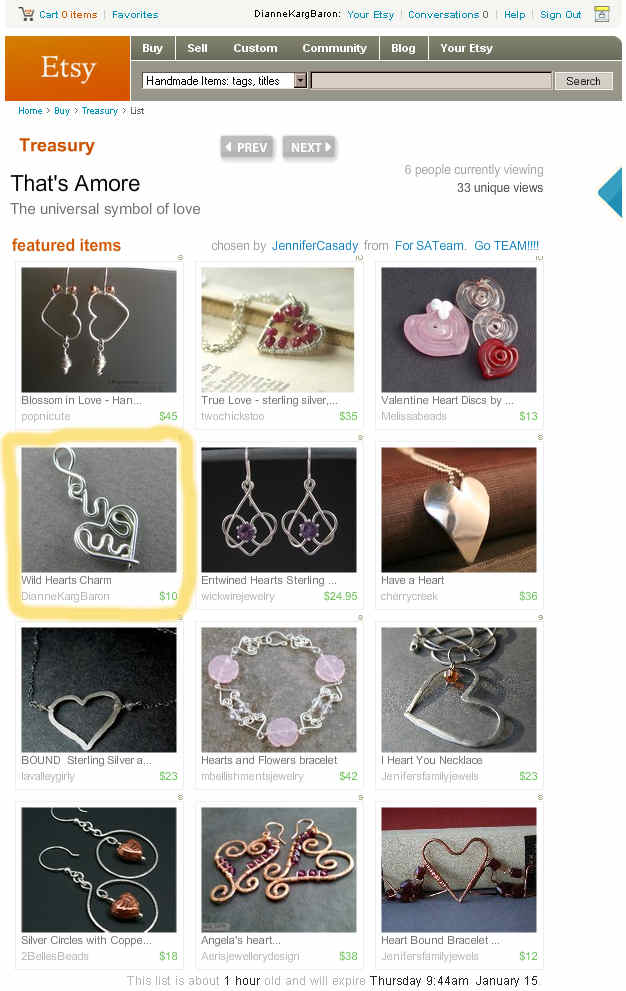
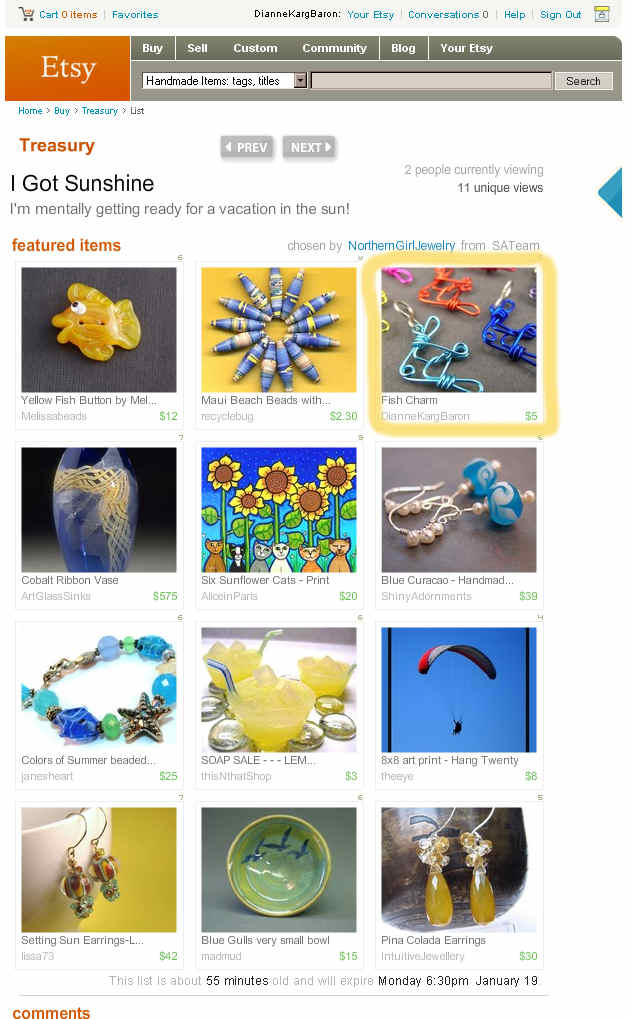
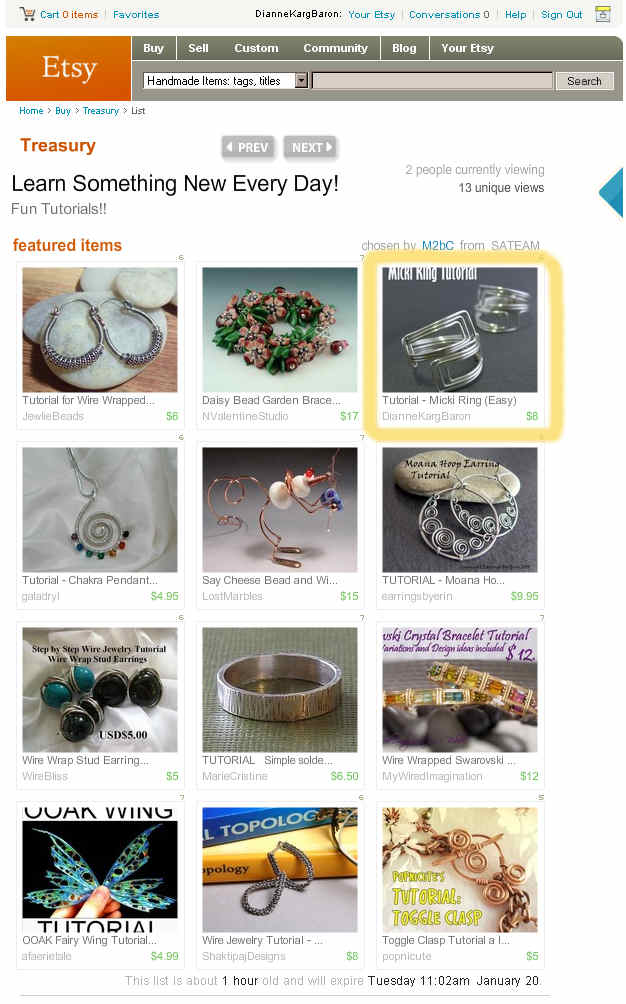
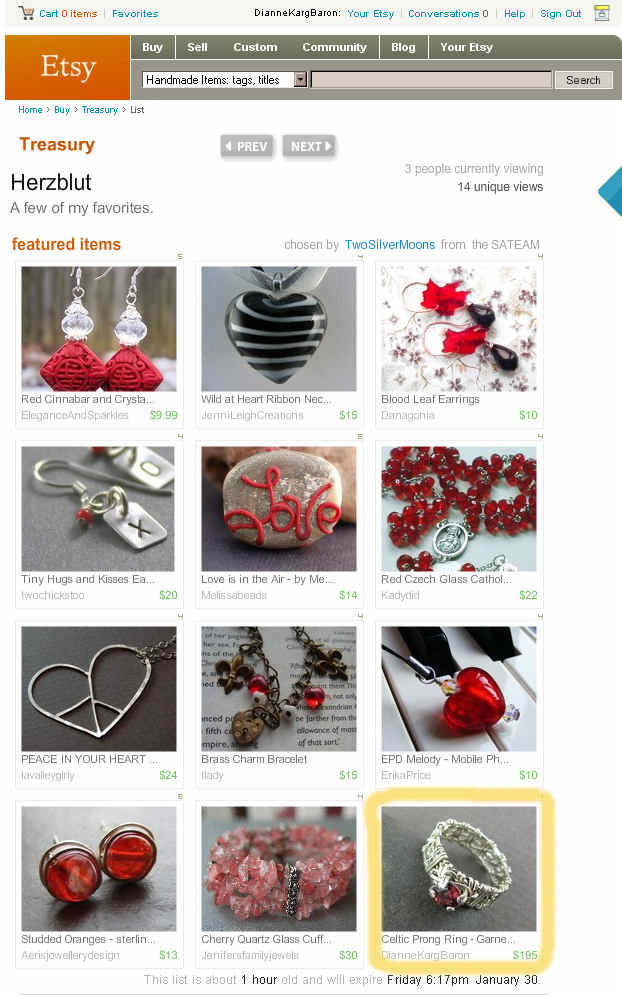
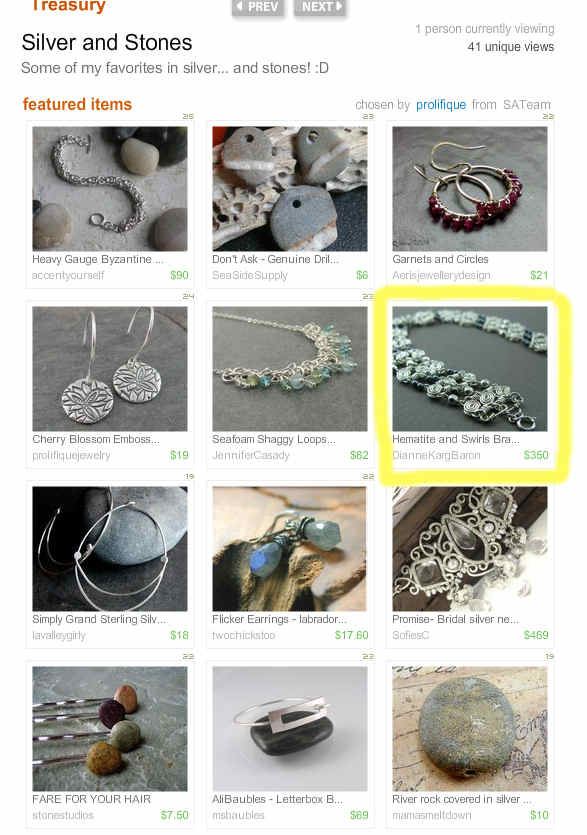
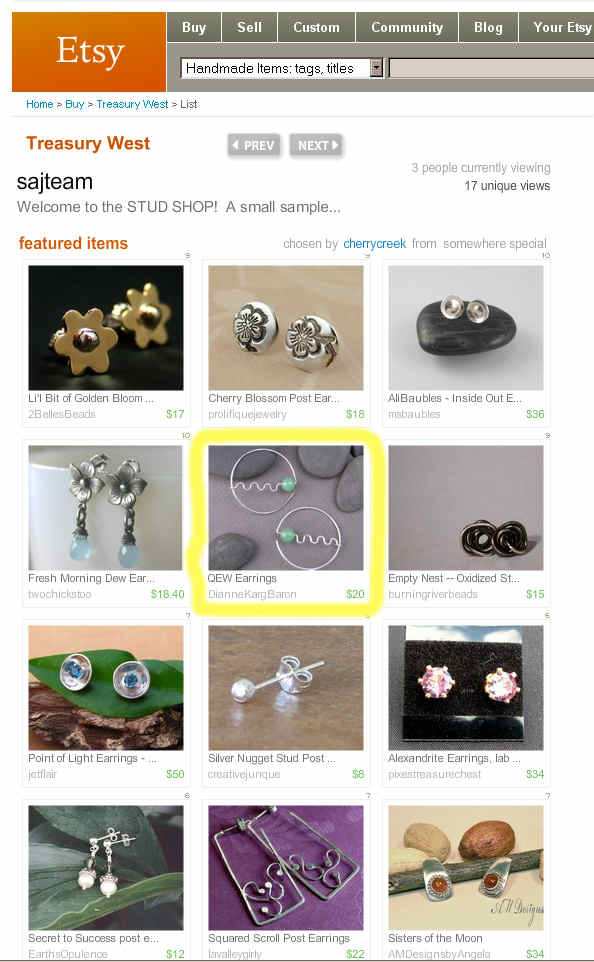
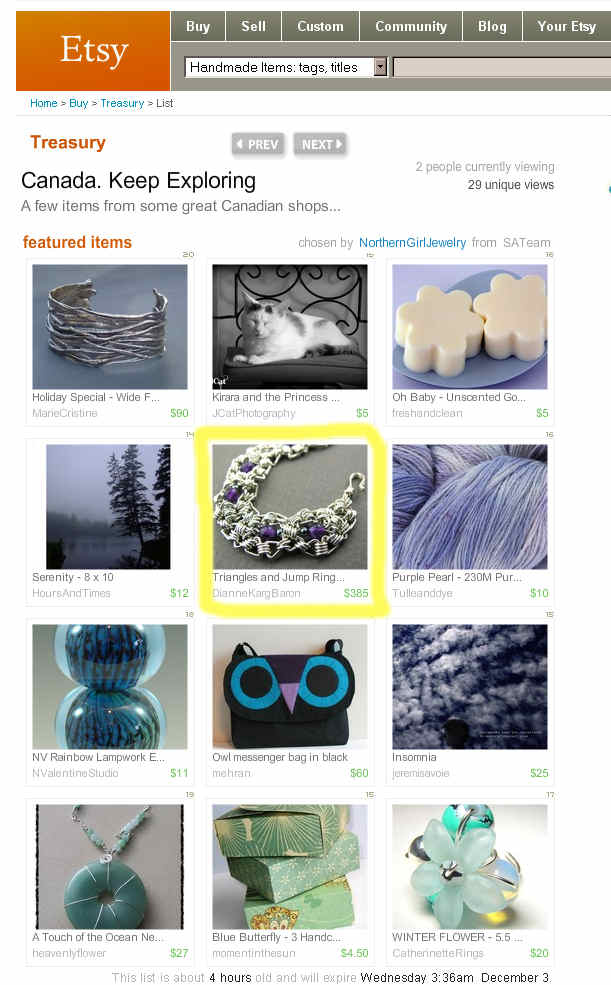
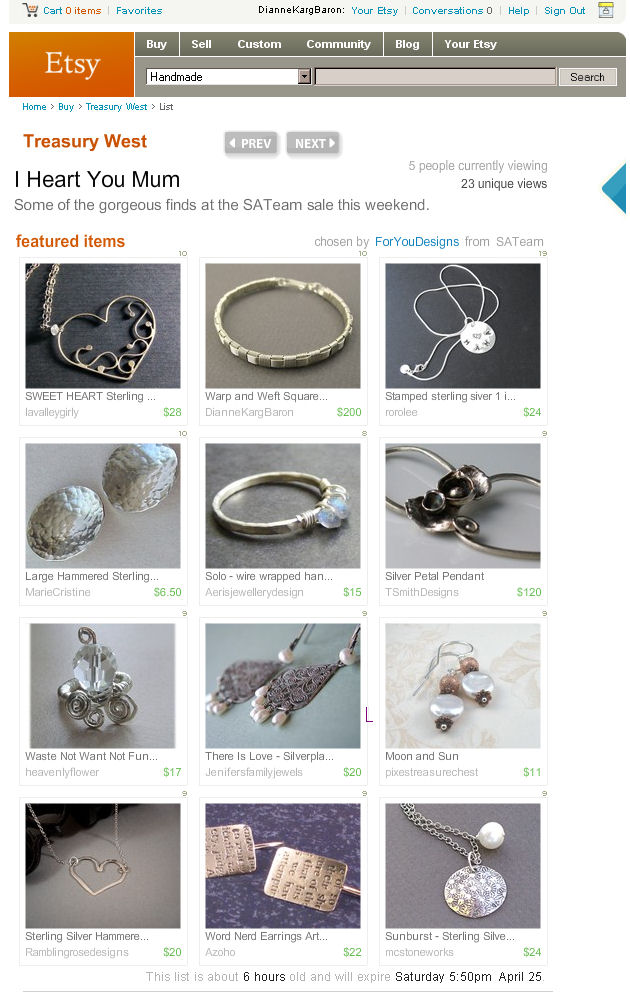
I joined Etsy.com last year as part of my research for an article. Since then I’ve joined two “Street Teams” – groups of people who work collectively to promote each others shops. One of the ways to promote a shop is through the “Treasury” – an exhibition of work curated by Etsy members. At any given time there are 333-500+ treasuries on display, with a wide range of “themes”.

Many of my fellow street team members have been kind enough to include my work in their treasuries, so I’ll take the time now to say “thank you” collectively to them, and to post a gallery of the recent ones.

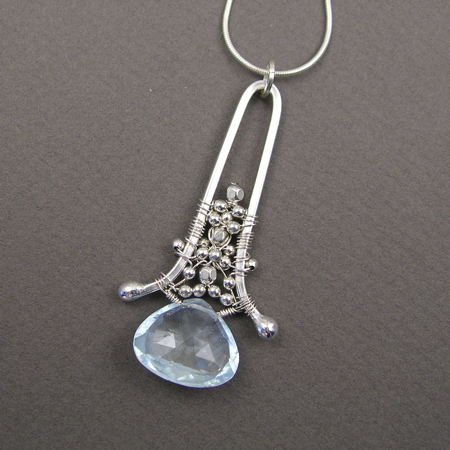
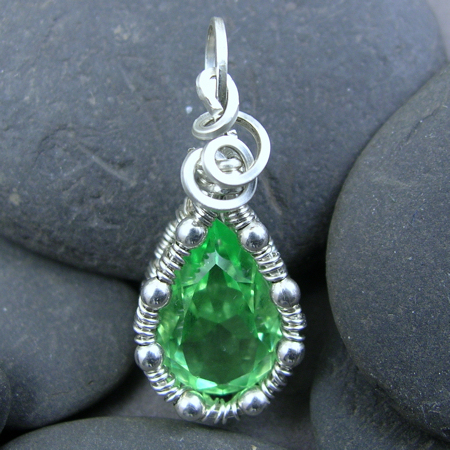
YOJ09-08 Effervescence Pendant

Effervescence Pendant (2009)
Sterling silver, fine silver, blue topaz
L 5.4 cm x W 2.5 cm
Constructed, flame-worked

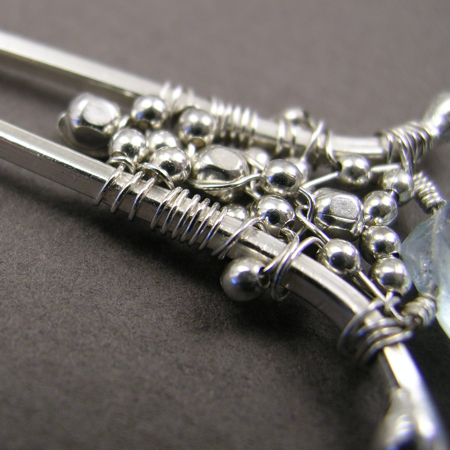
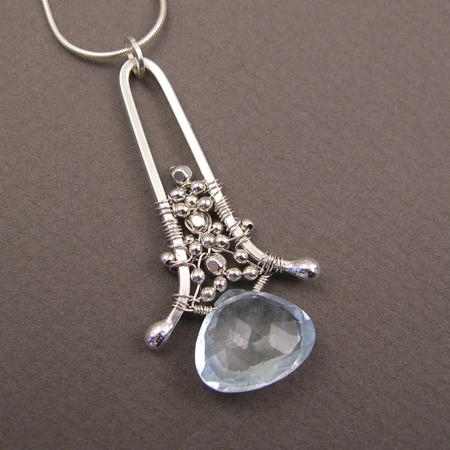
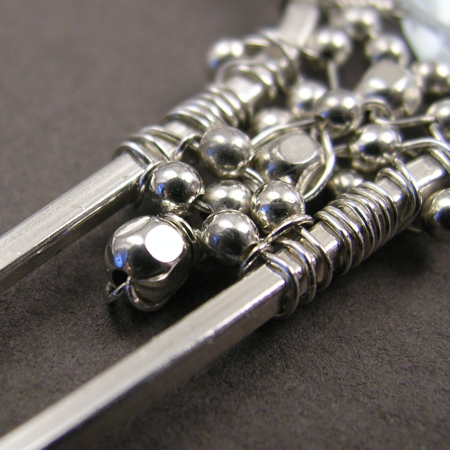
Having made the decision to make more production pieces, I’m picking out stones from my stash and setting to work.  This week’s piece reminds me of the “Use it Up” pendants I made back in YOJ 2005-06.  I fished a piece of 15 ga. square wire out of the scrap bin and balled up the ends, then bent it into shape and added this 8.96 carat blue topaz brio.  It looked too plain, so I embellished it with 2 and 3 mm sterling beads.

Even since my friend Anna did the flower arrangements for my wedding, I’ve been mindful of the principle of using odd numbers for groupings.  She explained that it’s more pleasing to the eye to see 1, 3, or 5 things together, rather than 2, 4, or 6.  To some extent that principle is at work here with the three larger beads, and groups of 5 beads.

After I got it out the tumbler this morning, I tried it on.  The beads looked like fizzing over top of the brio, and made me think of what my kids refer to as “bubble water” – soda water.  So, it has the name “Effervescence”.   *grin*

My husband likes the pendant, but then again, he prefers any pieces to which I’ve take a torch.  The pendant wears well, but I’m not completely happy with the result – decorative beading is really not my forté – so I may it try again.

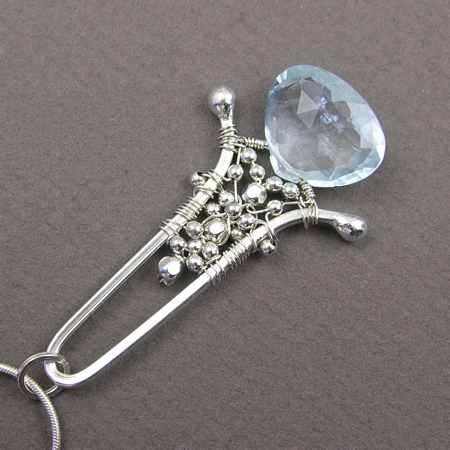
More photos:

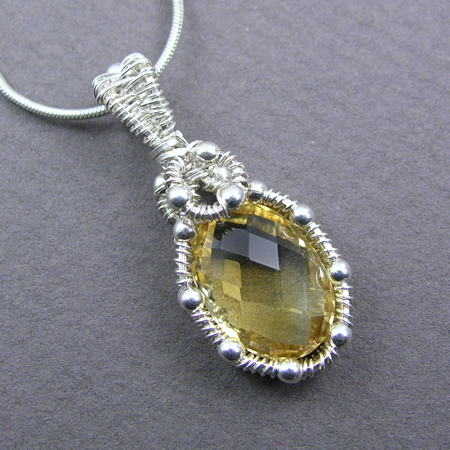
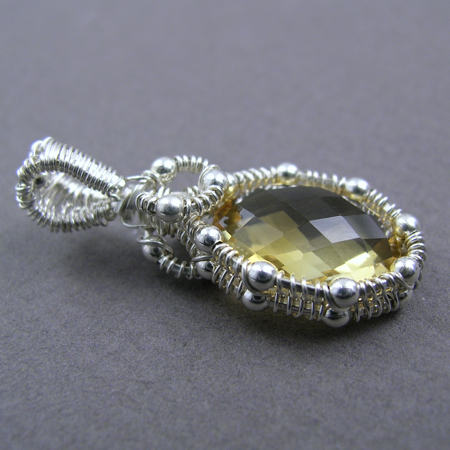
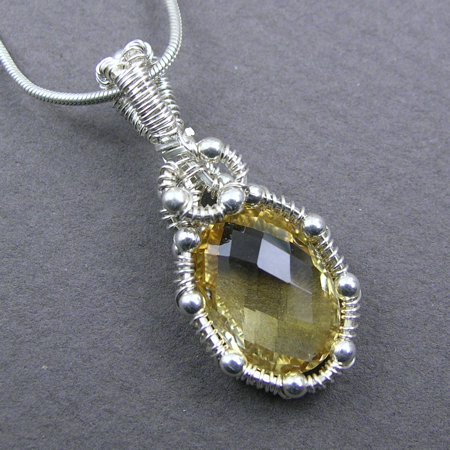
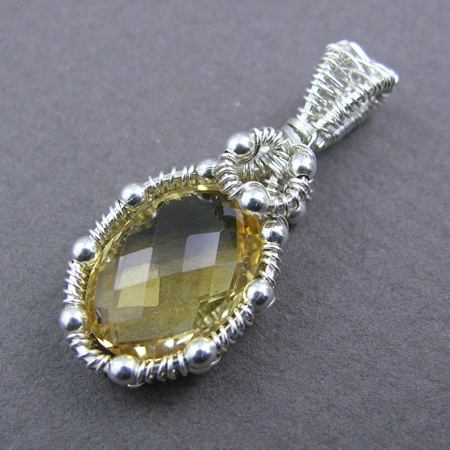
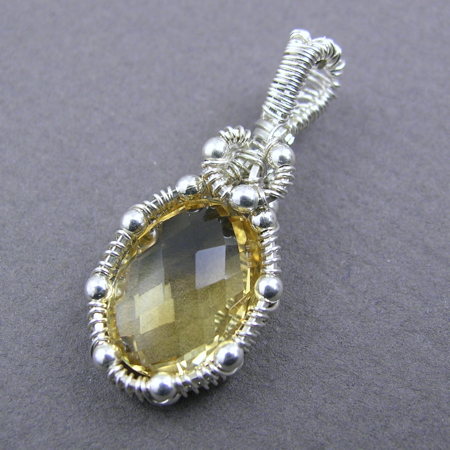
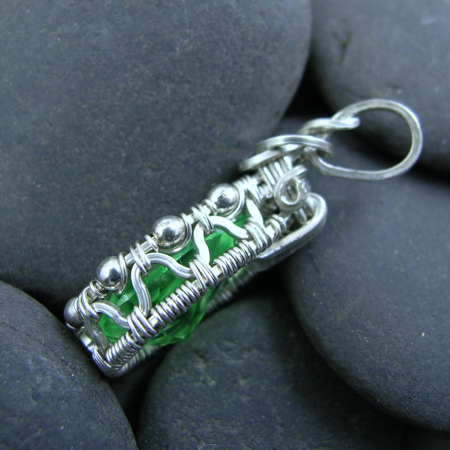
YOJ09-07 Double-sided Citrine Pendant

Double-Sided Citrine Pendant (2009)
Sterling silver, fine silver, citrine
L 3.0 cm x W 1.3 cm
Constructed, woven

I bought this wonderful citrine at the Toronto Gem & Mineral Show many years ago.  I think I bought it when Thumper was still a baby.  Part of the reason I’ve never used it is that despite how beautifully cut it is – double sided cushion cut – I didn’t really know how I wanted to set it.

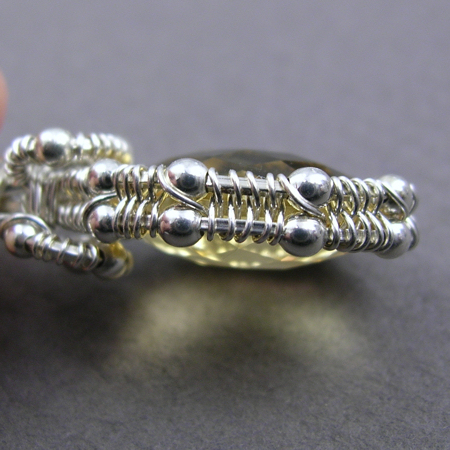
This week, while giving myself a break from the never ending viking knit project, I decided to go digging in my stash and found this beauty again.  I decided to try setting it to show off both sides of the stone.  I’ve discovered that I’ve developed a serious dislike of wrapping with half round wire.  At least, I dislike the 21 ga half round I have.  It’s just too thick for what I want to do.  So, to make a thinner setting, I use 28 ga fine silver.  It’s fiddly to work with, but it allows the stone to take centre stage instead of being overwhelmed by the wire.  Both sides are worked almost identical.  The bezel is basically two pieces of square wire woven with 28 ga wire.  The channel created in the centre of the weaving holds the girdle of the stone.  The 2 mm beads act like prongs to hold the stone in the setting.  It’s visually similar to the pendant I made in Week 4.  I like the way it turned out.

I’m making progress on the viking knit piece – it’s now 3 1/2″ long, but I’m starting to doubt that I will have it finished in time for entry to the competition.  *sigh*  I’ll keep plugging away at it, because it’s really starting to take shape.  At the same time though I need to work on production pieces, hence the citrine pendant.

More photos:

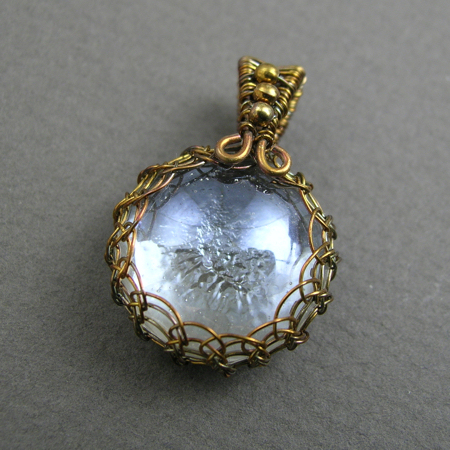
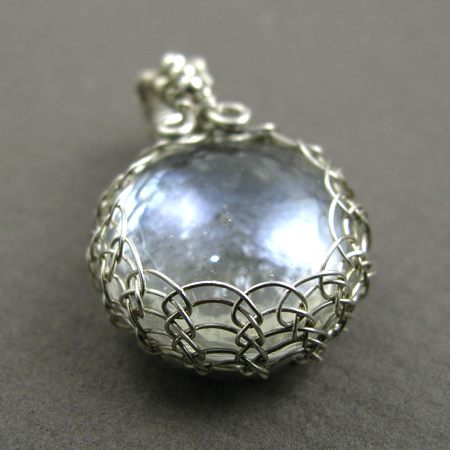
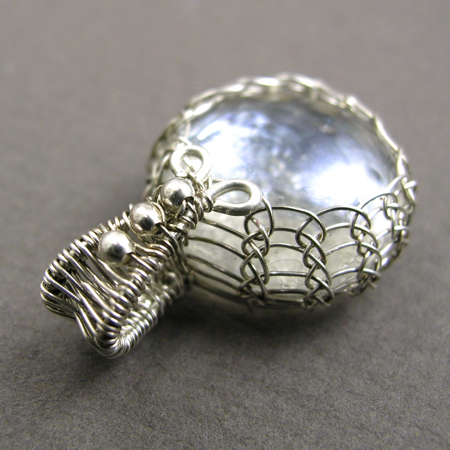
YOJ09-06 Viking Knit Pendant

Viking Knit Pendant (2009)
Sterling silver, fine silver, glass
Constructed, liver of sulphur patination
L 2.9 cm x W 1.9 cm

I’ve got Viking knitting on the brain this week, because I’m working on a competition piece that uses that technique.  It’s a slow, tedious process, but at the same time, strangely rhythmic and meditative.  So far on the competition piece I’ve used about 15 ft of wire, and have oh… 1 1/2″ (just under 4 cm) of knitting completed.

Needless to say, it’s not the piece I’m posting for this week.

Since I have my fingers suitably warmed up, I figured I’d try using the technique on a pendant, and add a woven bail.  This result is slightly different than the netted pendant I made for myself about a year ago.

I also decided to add liver of sulphur patina to it because silver and clear glass is just plain boring.  The thing I love about LOS is the range of colours that can be produced, from straw yellow to deep dark black.  My LOS is very old – so old in fact that it doesn’t dissolve properly anymore.  I mixed up a weak solution and swirled the pendant around in it.  Initially it went gold/brass coloured, but I decided I wanted to go deeper, so I popped it back in.  I like the coppery brown colour I have now.

More photos, both with and without LOS:

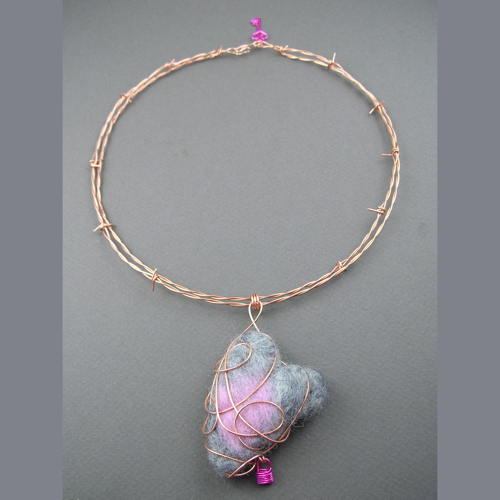
YOJ09-05 The Caged Heart Grows Cold

The Caged Heart Grows Cold or Portrait of the Artist circa 1998 (2009)
Bare copper, polymer coated copper, wool
Constructed, needle-felted
Pendant:  L 7.5 cm x W 4.2 cm; Neckwire:  L 45 cm

I’ve been debating with myself for three weeks about what and how much to write about this week’s entry.  I made the felted heart in week 2, but then discovered that studio gremlins had made off with my copper wire…  I finally found a small spool of it last week, so was able to start work on the project.  The gremlins are refusing to let go of the rest, though, so this is the last copper piece I’m going to be making for the time being.

I spent a lot of time during my hiatus meditating on the direction I should go with my jewellery.  Time and time again I’ve gotten the message that my jewellery needs to connect with the spirit, and express more of my inner voice.

So, my piece this week speaks from a very personal perspective.  The very long story behind it is one that only my very closest friends have known about before now.

YOJ09-04 Swarovski Pendant

This has been a busy week.  I’ve been juggling a bunch of different projects, trying to wrap some up, get ahead on others.  I’ve made some progress in my quest to figure out how to incorporate felting for a bonsai.  Unfortunately, the avenue I’m following at the moment is very labour intensive.

Years ago, an acquaintance at the Gem & Mineral Club of Scarborough named Frank Hoffman commented that if you’re going to go to the effort of making a piece of jewellery, you should make it out of karat gold.  His reasoning was that for the same labour you would be able to charge a much higher price, because of the perceived value of the gold.  For this felted bonsai, I’m starting to think he made a good point.

Anyways… I made a pair of earrings this week, which are being given away as a birthday present, but I didn’t want to post those.  So… here it is, Sunday night, and I need to post something.

About a year ago, a lady on CWJ, Nancy Van Tassell, was selling off some Swarovski gems.  I bought a bunch.  They’ve been sitting in my stash ever since.  Recently, when I was cleaning up my bench, I discovered them again.  So… with the clock ticking down, I decided to try my hand at a pendant.  Since the gem has a deep back, I had to figure out how to set it without ending up with the point sticking out too much.  I also didn’t want the pendant to look really heavy.  So, the solution was to make an openworked bezel.  It turned out okay, but I think it would have looked better in a thinner gauge of wire.

My eyesight is going…  *gloom*… and I’m tired… and the pendant took forever to make… but hey, at least I got a piece done.

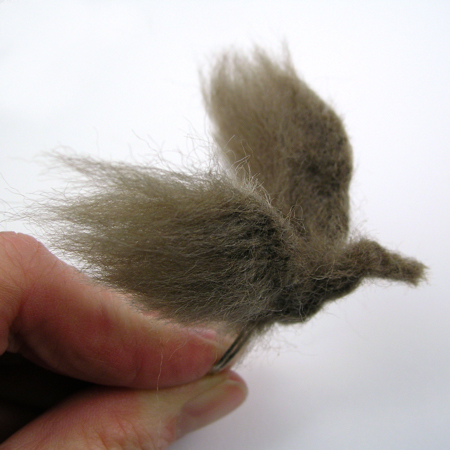
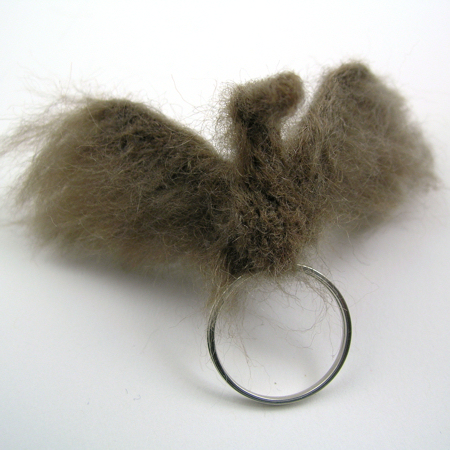
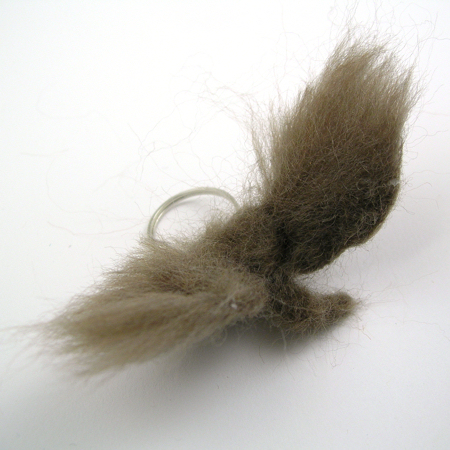
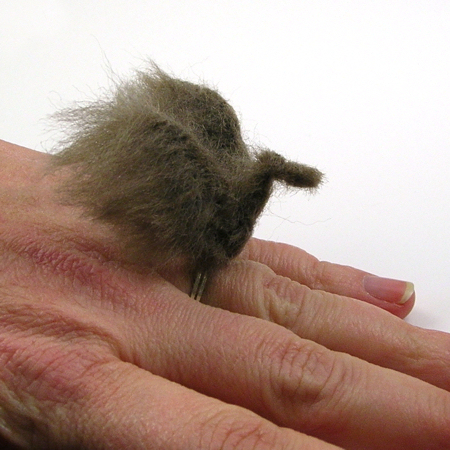
YOJ09-03 The Bird Ring

The Bird Ring (2009)
Sterling silver, wool
Needle-felted, constructed
Size 7

Alright, I admit: this looks a bit odd, but trust me, it’s part of the process of figuring out if felting will work for a bonsai ring.  This week, I was needle-felting onto an armature.  I’m working with wool roving, which is very fiddly on a small scale.  This was worked dry, but I’m going to have to try it wet to see if it gives me more control.  I’m also thinking that I may need to buy some felt sheets and see how that works.

Here are some other views:

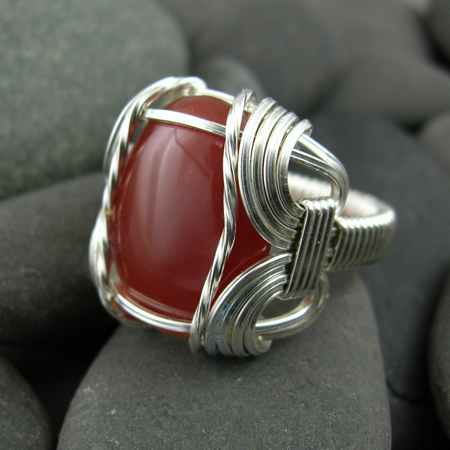
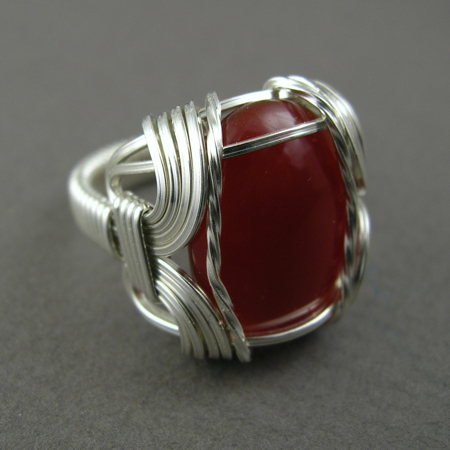
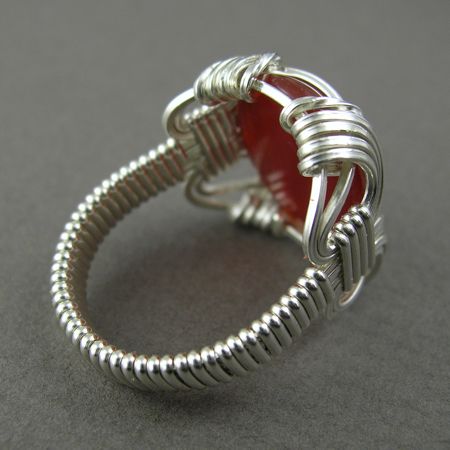
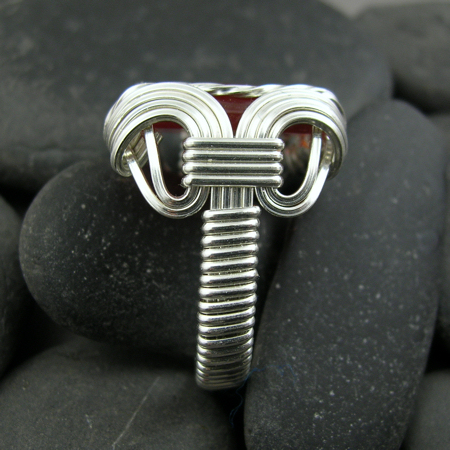
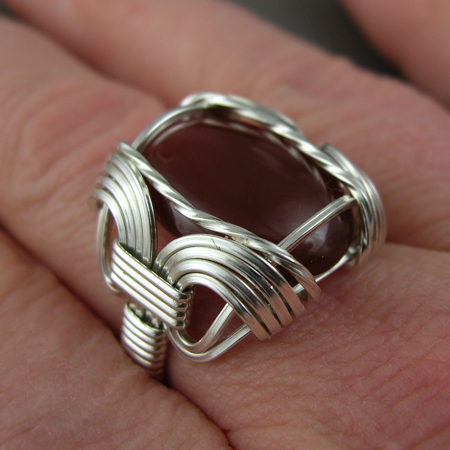
YOJ09-02 Standard Form Ring

Standard Form Ring (2009)
Sterling silver, carnelian
Size 10

I wasn’t intending to post this as my second entry for the YOJ, but it’s now Sunday, the due date for this week, and the piece I actually wanted to post isn’t finished.  I’m “tweaking”.  It feels very much like I’m doing a science experiment.

So… in the meantime…

I’m going to be teaching at Haliburton again this summer, and I have a bunch of tutorials I need to write in preparation for the class.  Last fall I proposed a second level wire jewelry course, which was accepted.  One of the projects is going to be the Standard Form Ring, aka Pharaoh’s Ring.  (Why it’s called the “Pharaoh’s Ring” is a mystery:  I haven’t been able to find any historical examples using wire.  References to cast versions, yes, wire, no…).  It’s called the “Standard Form Ring” because it’s one of the all-time classic wireworking ring patterns.  A version of this ring was published in Moods in Wire by Ellsworth Sinclair, Beginning Wirecraft by Jessie Donnan, and in the Wire Artist Jeweller Magazine (June 2003).  It’s a substantial ring, usually worn by men.  I started writing my version this week, in between printing off “printing sheets” for Number 2 Son, who likes to do “homework”.

(Edit Jun. 25/09:  Thanks to some excellent detective work by Helen Goga, a historical reference for the Standard Form Ring has been found!  Mr. Thomas Vincent Phelan received a patent for the ring design (US Des. 150,726) in August 1948.  The patent lasted for 14 years, and the design went into the public domain in 1962.)

My own personal artistic proclivities don’t lean towards classical wirework, so I haven’t made this type of ring before.  I followed the WAJ instructions for my first two attempts.  I often tell my students that they shouldn’t worry about what their first attempt looks like:  usually with the first one, you’re just trying to get your head around the steps, so clumsiness is part of the process.  It’s no different for me.  This ring was attempt number 3… and I’ll likely make at least two more in the process of refining, writing and photographing the steps for the instructions.

There are useful wireworking skills to be learned from doing this project.  There are definitely some “tricks” to getting it to look nice.  Notes are being scribbled…

Some other views:

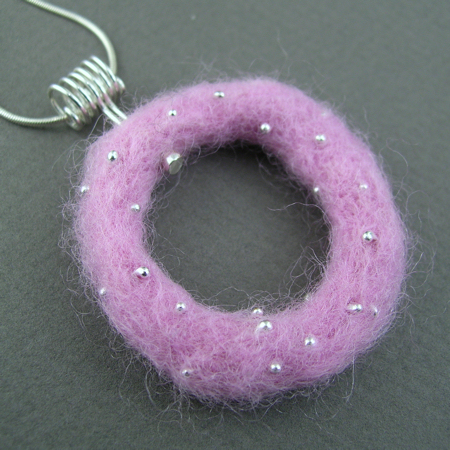
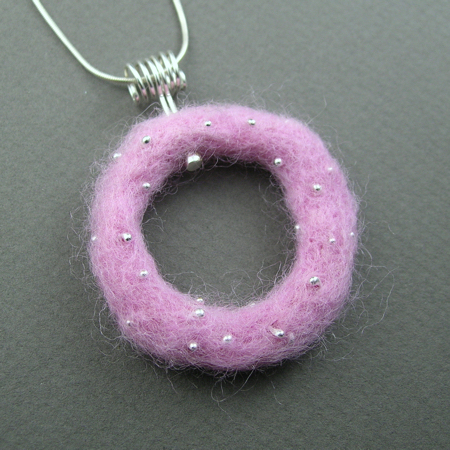
YOJ09-01 Needle Felted Circle Pendant

Needle Felted Circle Pendant (2009)
Sterling silver, wool
Needle-felted, flame-worked, cold connected
L 5.2 cm x W 4 cm

Back in 2006, when I was working with the Bonsai Rings one of the challenges I faced was to create realistic looking foliage.  A technique I thought might work well was felting.  I signed up for a felting course, but unfortunately various circumstances prevented me from taking it.

So recently, when I was putting together a Treasury on Etsy.com, I came across a shop that sold needle felting kits.  The price was good, so I took the plunge and bought one.

I decided to experiment first with the least appealing colour for foliage:  pink.

The technique is quite simple and fun.  On the first night, I made two little balls.  The next night I had a meeting with Maegen Black, a colleague who works with me on MAGazine.  She was wearing three felted bangles made by a BC artist whose name I didn’t catch.  (Edit: Maegen let me know the artist’s name is Deb Dumka). Intrigued, I tried a version of my own the next night.

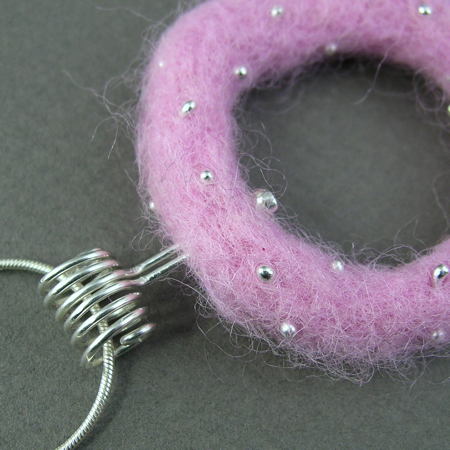
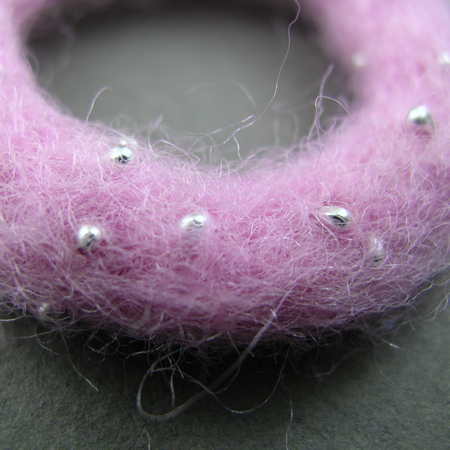
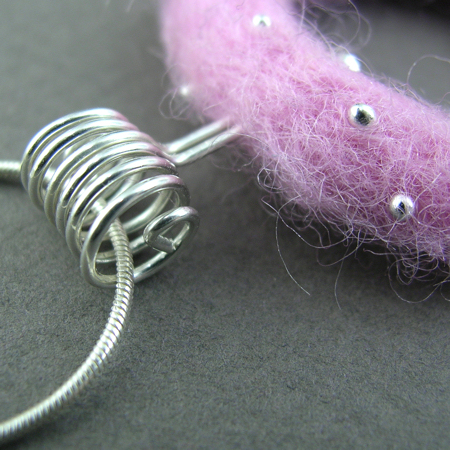
Since I’m now working on my YOJ projects, I decided to use this little circle for my week 1 submission.  To jazz it up, I broke out the torch and made a bunch of sterling silver studs to decorate the circle.  Remembering the mess I got myself into during the previous YOJ, I did all of the finishing prior to assembling the pendant.

The Year of Jewelry Project – What’s Influencing Me in 2009

One of the things I’ve been doing over the past two years is taking a real, critical look at my work.  This is not an easy thing to do at any time, but any artist interested in growth has to be willing to go through the process of admitting what is good and what truly sucks.

So, my first step was to go through my stash and take much of it apart.  I’m not planning on doing shows for the foreseeable future, so I have no need now to maintain the stock levels.  Many of the pieces have also made the rounds through the galleries, so new work is needed.  It’s painful, but also enlightening because I’m seeing the work with fresh eyes.  I can see why some pieces didn’t sell.  At the same time, I see the joy I had making them.

In the last five years I’ve devoted a lot of energy to my work on the Executive of the Metal Arts Guild of Canada.  That served two purposes:  it kept me connected to an artistic (and adult) community, which gave balance to my role as “Mommy” to two children, and it exposed me to a different kind of art jewelry, which has inspired me to step up my game.

The “500” series by Lark Books also continues to influence my thinking.  Some of the stuff in these books is creative to the point of being impractical – but makes me want to explore, and push the limits of what I would consider “wearable” jewellery. In terms of finding a market for this kind of jewelry, the Americans tend to be much more open to it; Canadians have a tendency to be somewhat subdued and more practical, but I might find some surprises.

The price of precious metals is on my mind, and I’m thinking about how the economy will influence what kinds of jewellery will be of interest to the buying public.  In other periods of economic turmoil, people used alternative materials (like Bakelite in the 1930s), or made lighter pieces.

In conjunction with my wire history research, I’ve been following the recent trends in wire jewelry.  Coiling, weaving and solderless wrapped filigree have been very popular techniques for about the last 18 months.  One of the other trends I’ve noticed is the addition of soldered or flame-worked wire elements to solderless wirework.  I’m seeing balled ends on wire, and soldered wire frames used as a base upon which pieces are built.  While eshewed by the purists (myself included), it has expanded the range of what can be done with wire and has received rave reviews from the wire jewelry community.

So… with all of these things in mind, here are my main objectives for My Year of Jewelry:

  1. Complete at least one piece every week, document the process through photographs and posts to this blog.
  2. Still work primarily in wire, but expand my repetoire by incorporating mixed media and soldered/flame-worked elements.
  3. Explore “haute couture” vs. “ready-to-wear” in my jewelry.
  4. Rediscover the joy and fun of making jewelry.

Here I go!

The Year of Jewelry Project 2009 (YOJ09)

After a two year hiatus, I am rejoining the Year of Jewelry Project.

I participated in this project in 2004-05 and 2005-06.  The summaries of all the pieces I created during those years are here and here.

I’m both dreading and excited at the idea of having to complete one piece every week for the next 52 weeks.  Having participated in this project before, I know exactly what kind of commitment is involved.  As always, I do seem to have a lot of other things on my plate, but I don’t foresee any difficulties with completing the year.  In fact, as the year progresses, it should get easier.  All of my heavy deadlines are in the first six months of 2009.

This year, the themes are focused on movies, periods of history and artists.  I’m undecided about doing a weekly piece based on the themes, but if something strikes me I’ll give it a try.

So… now I just have to write my goals for the year.

Secret Santa 2008 – Sneak Peak :-)

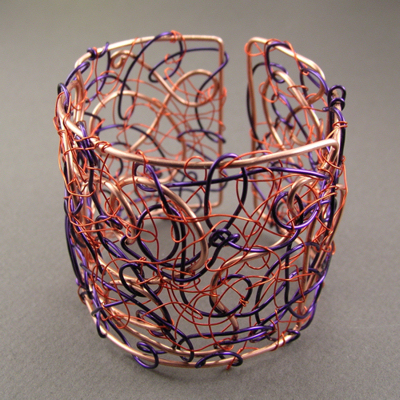
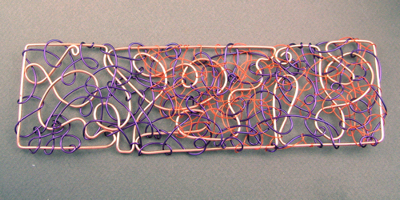
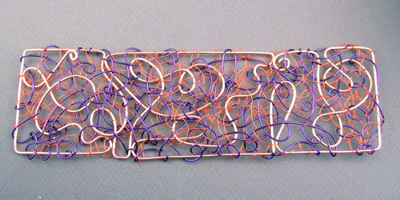
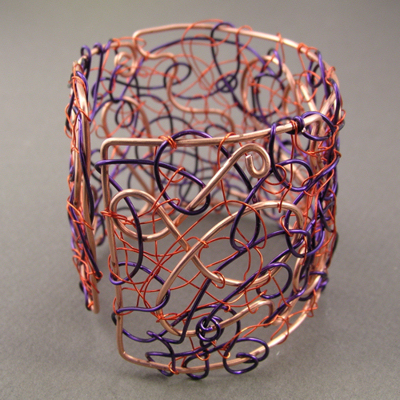
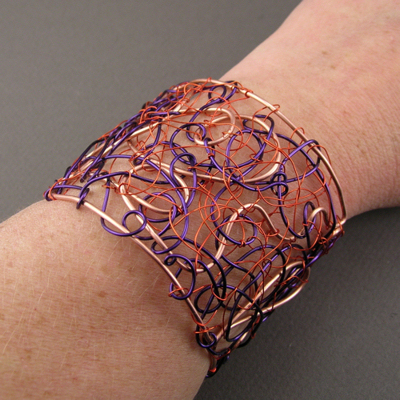
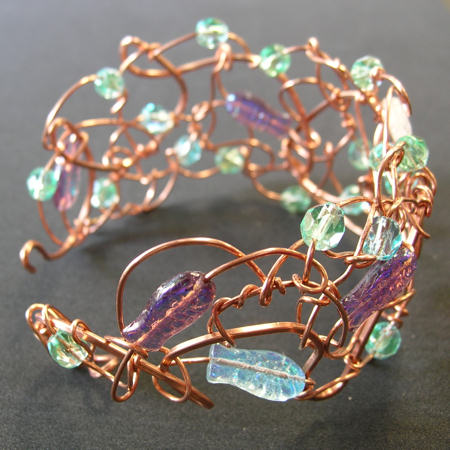
I’m participating in the Secret Santa on CWJ again this year, and as usual, I’m choosing to work outside my comfort zone.  Back in the summer when I was teaching at Haliburton, one of the projects we did was a “freeform” bangle.  Now, anyone who knows me and has any familiarity with my past work, knows that I’m not a freeform kinda gal.  It was the notes I got for my Secret Santa recipient’s preferences that made me think freeform would be the best approach.

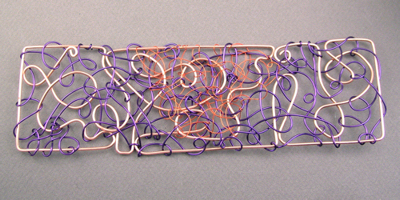
The starting point for this bangle was the Illingworth Necklace by Sir Alfred Gilbert (1854-1934).  This is the second time I’ve used this necklace for inspiration.  The first time was during the YOJ 2005.  The results this time look to me like “Wonder Woman meets Jackson Pollack”  LOLOL

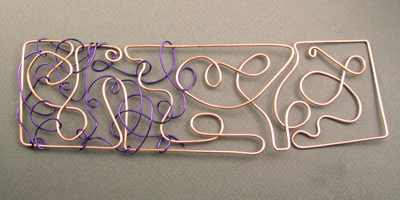
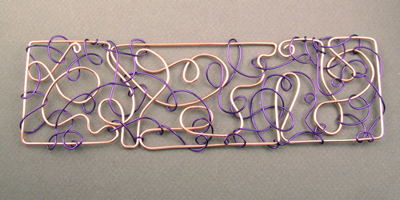
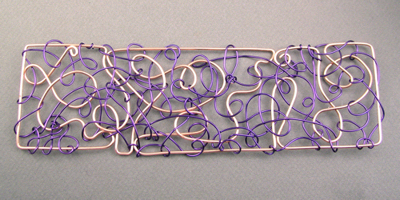
The frame was made out of 16 ga round copper.  Then, making use of the miles and miles of Artistic Wire I have, I wound in 20 ga purple and 28 ga tangerine wire.

Gilbert spent literally years working on his necklace, tying and retying the wire knots.  Originally, I was intending to make the interweaving more dense, but time is getting short, and the bracelet needs to be in the mail in the next day or so if I have any hope of getting it to its destination before Christmas.

Funny, I haven’t made much jewellery in the past two years, partly because I haven’t felt very inspired.  But working on this bangle made me feel very energetic – I have the “itch” to do more work.  Unfortunately there are other deadlines looming, so I have to put off making for a little while longer.  I’m starting to have ideas for new pieces though, and am faithfully sketching them in my notebook.  Feels good…

Here are some process photos I took showing the stages of construction.