YOJ11-01 Bookmarks for Pet Lovers

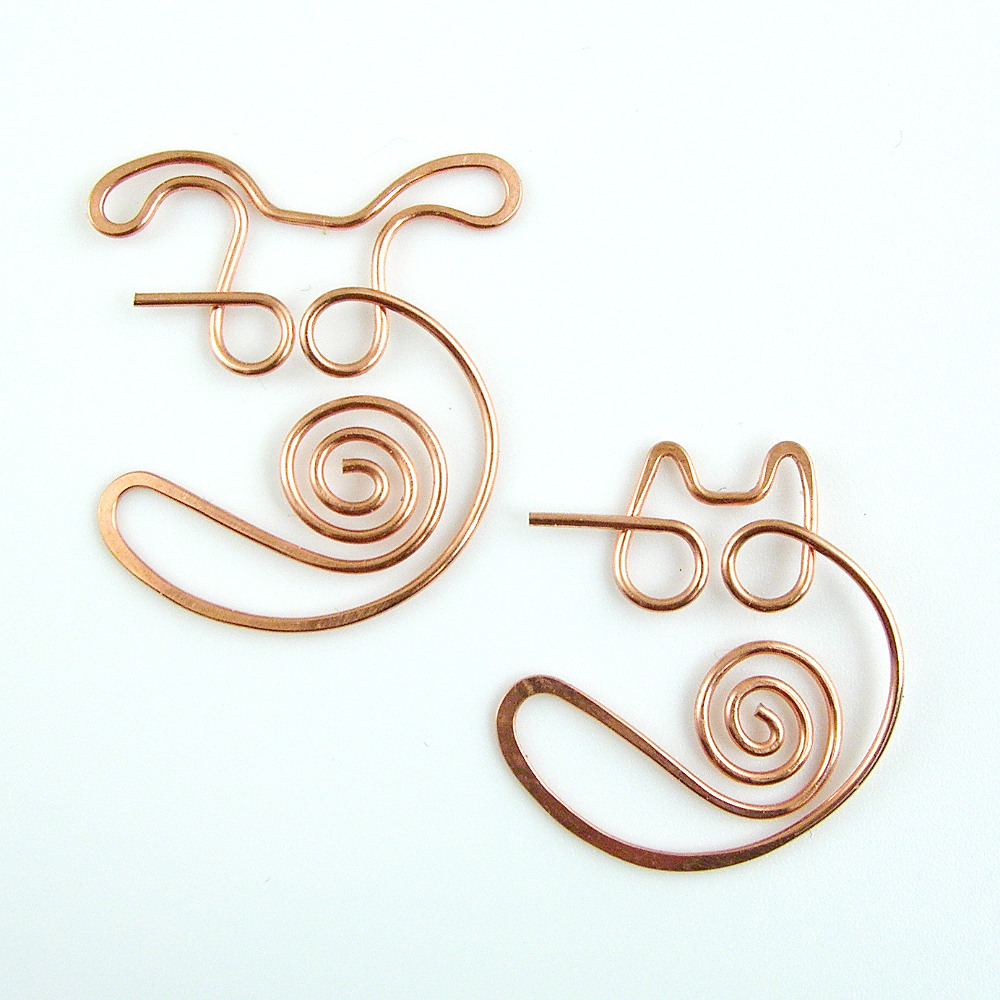
Bookmarks for Pet Lovers (2011)
Page Puppy (left), Kitty Klip (right)
Limited Edition of 100 each
Copper, formed, hammered
W 2.2 cm x H 2.5 cm (approx.)

I kick off the new YOJ with some bookmarks for pet lovers!

Page Puppy and Kitty Klip are loyal companions to help you find your place!  They’ll slide onto your page, then curl up for a nap until you’re ready to come back.

Years ago when I was still working on Bay St., I got a package one day with a wonderfully forged spiral paperclip.  I can’t remember anymore what it came attached to, but I thought it was such a subtle and wonderfully creative touch.   Ever since, I’ve wanted to create something similar.  My intention is to use them as promo gifts for my jewellery clients.

These were actually inspired by a game on Facebook called SPP Pets.  It’s like a 21st century tamagachi – you “adopt” a pet, and then feed, tickle, clean and play with it, and decorate its “habitat”.  My kids think it’s fun and are always keen to see what my pet is doing.  The game is a mindless time-waster – perfect for when I need a couple of minutes break – and the communities of “pet owners” are very friendly.  So, the bookmarks are a little tip of the pliers to the Kitty Cat Lovers Club : )

YOJ11-01 Bookmarks YOJ11-01 Bookmarks

yoj, year of jewelry, 2011, dianne karg baron, copper, bookmark, kitty, puppy

The Year of Jewelry Project 2011

The Creative Wire Jewelry Forum is once again hosting The Year of Jewelry Project.  This year the invitation went out on social media as well as the forum, and the response has been tremendous!

The basic concept of the project is “one piece, per week, for a year”.  The participants, who range from newbies to seasoned professionals, set their own goals in terms of what they want to produce and what techniques they want to focus on, but they commit to producing one piece of jewelry each week.

I have participated in this project on and off since its inception in 2004.  Last year, I ended up dropping out after the first quarter because I became overwhelmed by other commitments.  This year, given that I’m doing a studio tour at the end of April, I have added incentive to stay focused.

To find out more and to view the weekly submissions, visit The Year of Jewelry Project 2011 website.

Please Don’t Call Me a “Wirewrapper”

A few weeks ago I was listening to Jay Whaley’s Blogtalkradio interview with Helen Goga, former editor and publisher of The Wire Artist Jeweller magazine.  One of the things that really struck me during the broadcast was the terminology each of them was using.   Without fail, Helen made reference to “wire jewelry” and “wire jewellers”, while Jay said “wirewrapping” and “wirewrappers”.

For the past fifteen years, I have been exploring various techniques for manipulating wire to create jewelry, both simple and complex.  From thick to thin, I’ve bent, linked, twisted, woven, hammered, fused, crocheted and knitted my way through many kilograms of metal.  The possibilities of what can be made using wire are virtually endless.  Much of my oeuvre has been created without the use of a torch.  This is a deliberate choice:  I enjoy the challenge of figuring out a design based on the constraint of working cold.

I am not a “wirewrapper”.  I *never* refer to myself using that term.  The reason is very simple:  For many, the term “wirewrapping” conjures up images of someone who is unskilled and not serious about their craft.  I’m neither, so when I talk to people about what I do, I tell them I am a professional artist/studio jeweller/metalsmith/instructor who makes jewelry out of wire.  People understand these terms and respond with an open mind.

Helen alluded to the same thing during the conversation with Jay.

Potential clients and metalsmiths alike turn off when they hear the word “wirewrapping”.  It’s like a kill switch.  Seriously, mention “wirewrapper” or “wrapping” and the conversation stops.  Dead.  It doesn’t matter that my work has been published in books and magazines, or that it’s been included in national and international exhibitions.  It. Just. Stops. Dead.

Oppi Untracht, in his book “Jewelry Concepts and Technology”, made reference to three major forms of metal used in jewelry:  sheet, cast, and wire.[1. 1. At the time, metal clay had not yet been invented, otherwise it would likely have been included as well.]  This book is considered by many in the craft to be the Bible of jewelry making.  He devoted 111 pages to “The Uses of Drawn or Extruded Flexible Filaments”.[2. 2. Untracht, Oppi. Jewelry Concepts and Technology, (New York:  Doubleday & Company, Inc.,  1985) ISBN: 0-385-04185-3, Contents ix.]

Of course, there are metalsmiths who produce work in sheet metal, metal clay, and cast metal that is unsophisticated, but for some reason, the harshest critique seems to be reserved for wirework, and especially for cold-worked wire.

Why?

For many years, and for most of this past year in particular, I’ve been pondering this question.  The answer is rather convoluted, and touches on many different areas, so I’m going to break it down into a series of essays that lay out what I see are the virtues and the vices of wire.

I’m going to look at wire jewelry through the eyes of the various communities with whom I interact:  the general public, who buy jewelery; the wireworking community, made up of professionals and hobbyists, who share my passion for this form of metalwork; the students, who want and need the best quality instruction in order to succeed in their own practice; and, the greater metalworking community against whose standards of excellence wirework is compared and judged.

Please feel free to join in by posting comments below and by sharing anything that resonates with you.

Next>  Why “Wire wrapping” is a Traditional Metalsmithing Technique

Tutorial – Sweetheart Ring

Sweetheart Ring - Tutorial Instant Download from wrapturetutorials.com

Sweetheart Ring
Level of Difficulty:  Intermediate

This little ring is very economical in its use of wire, but what a pretty result! Its look is perfect for delicate fingers, but the pattern can be easily adjusted for larger ring sizes and stones. For those who have mastered the basics and are looking to move on a new skill level, this project introduces some precise measuring and calculation.

13 pages, 45 photos, 40 steps, plus design notes

USD $15.00

Tools & Materials You’ll Need:

Tools:
Flat Nose Pliers
Round Nose Pliers
Chain Nose Pliers
Flush Cutting Wire Nippers
Vernier Caliper
Permanent Marker
Measuring Tape/Ruler
Jeweller’s File
Rouge Cloth
Wooden Ring Mandrel
1/4″ (6 mm) Masking Tape

Materials:
16″ (41 cm) 22 ga. (.65 mm) Soft Square wire
1 1/2″ (4 cm) 22 ga. (.75 x .5 mm) Half-hard half round wire
1x 6 mm facetted Cubic Zirconium or other stone

Substitutions:
Substitutions are not recommended for this project.

Available now from my Tutorials Page and in my Artfire Shop.

Tutorial – Ancient Whispers Earrings (Free)

Tutorial - Ancient Whispers Earrings

Ancient Whispers Earrings (Free download)
8 pages, 43 photos, 43 steps
Level of Difficulty:  Easy

What do these earrings remind you of?  A lady of Ancient Rome strolling in her garden, admiring the mosaics and calla lilies?  The Ionic Columns of Ancient Greece soaring above the Acropolis? Whatever springs to mind, the classics are never out of style!

It’s been quite a while since I released a free tutorial! While I put the finishing touches on my upcoming (and first!) Intermediate tutorial, I decided I’d make available this pair of earrings, which were originally featured in Week 13 the Year of Jewelry 2010.

This project was developed for a workshop I’ll be teaching this week and next at Harbourfront Community Centre in Toronto.

Tools & Materials You’ll Need:

Tools:
Flat Nose Pliers
Round Nose Pliers
Flush Cutting Wire Nippers
Permanent Marker
Measuring Tape/Ruler
Jeweler’s File
Rouge Cloth
Materials:
33 inches (75 cm) 20 gauge (.80 mm) Hard Round Wire  

Substitutions:
Half hard wire can be used for this project.

https://wrapturewirejewellery.on.ca/blog/2010/03/yoj10-13-ancient-whispers-earrings/

Click here to download!

Other tutorials (fee and free) are available on my Tutorials page.

Starving Artists Wrist Candy Holiday Giveaway II – Oct. 17-Nov. 28, 2010

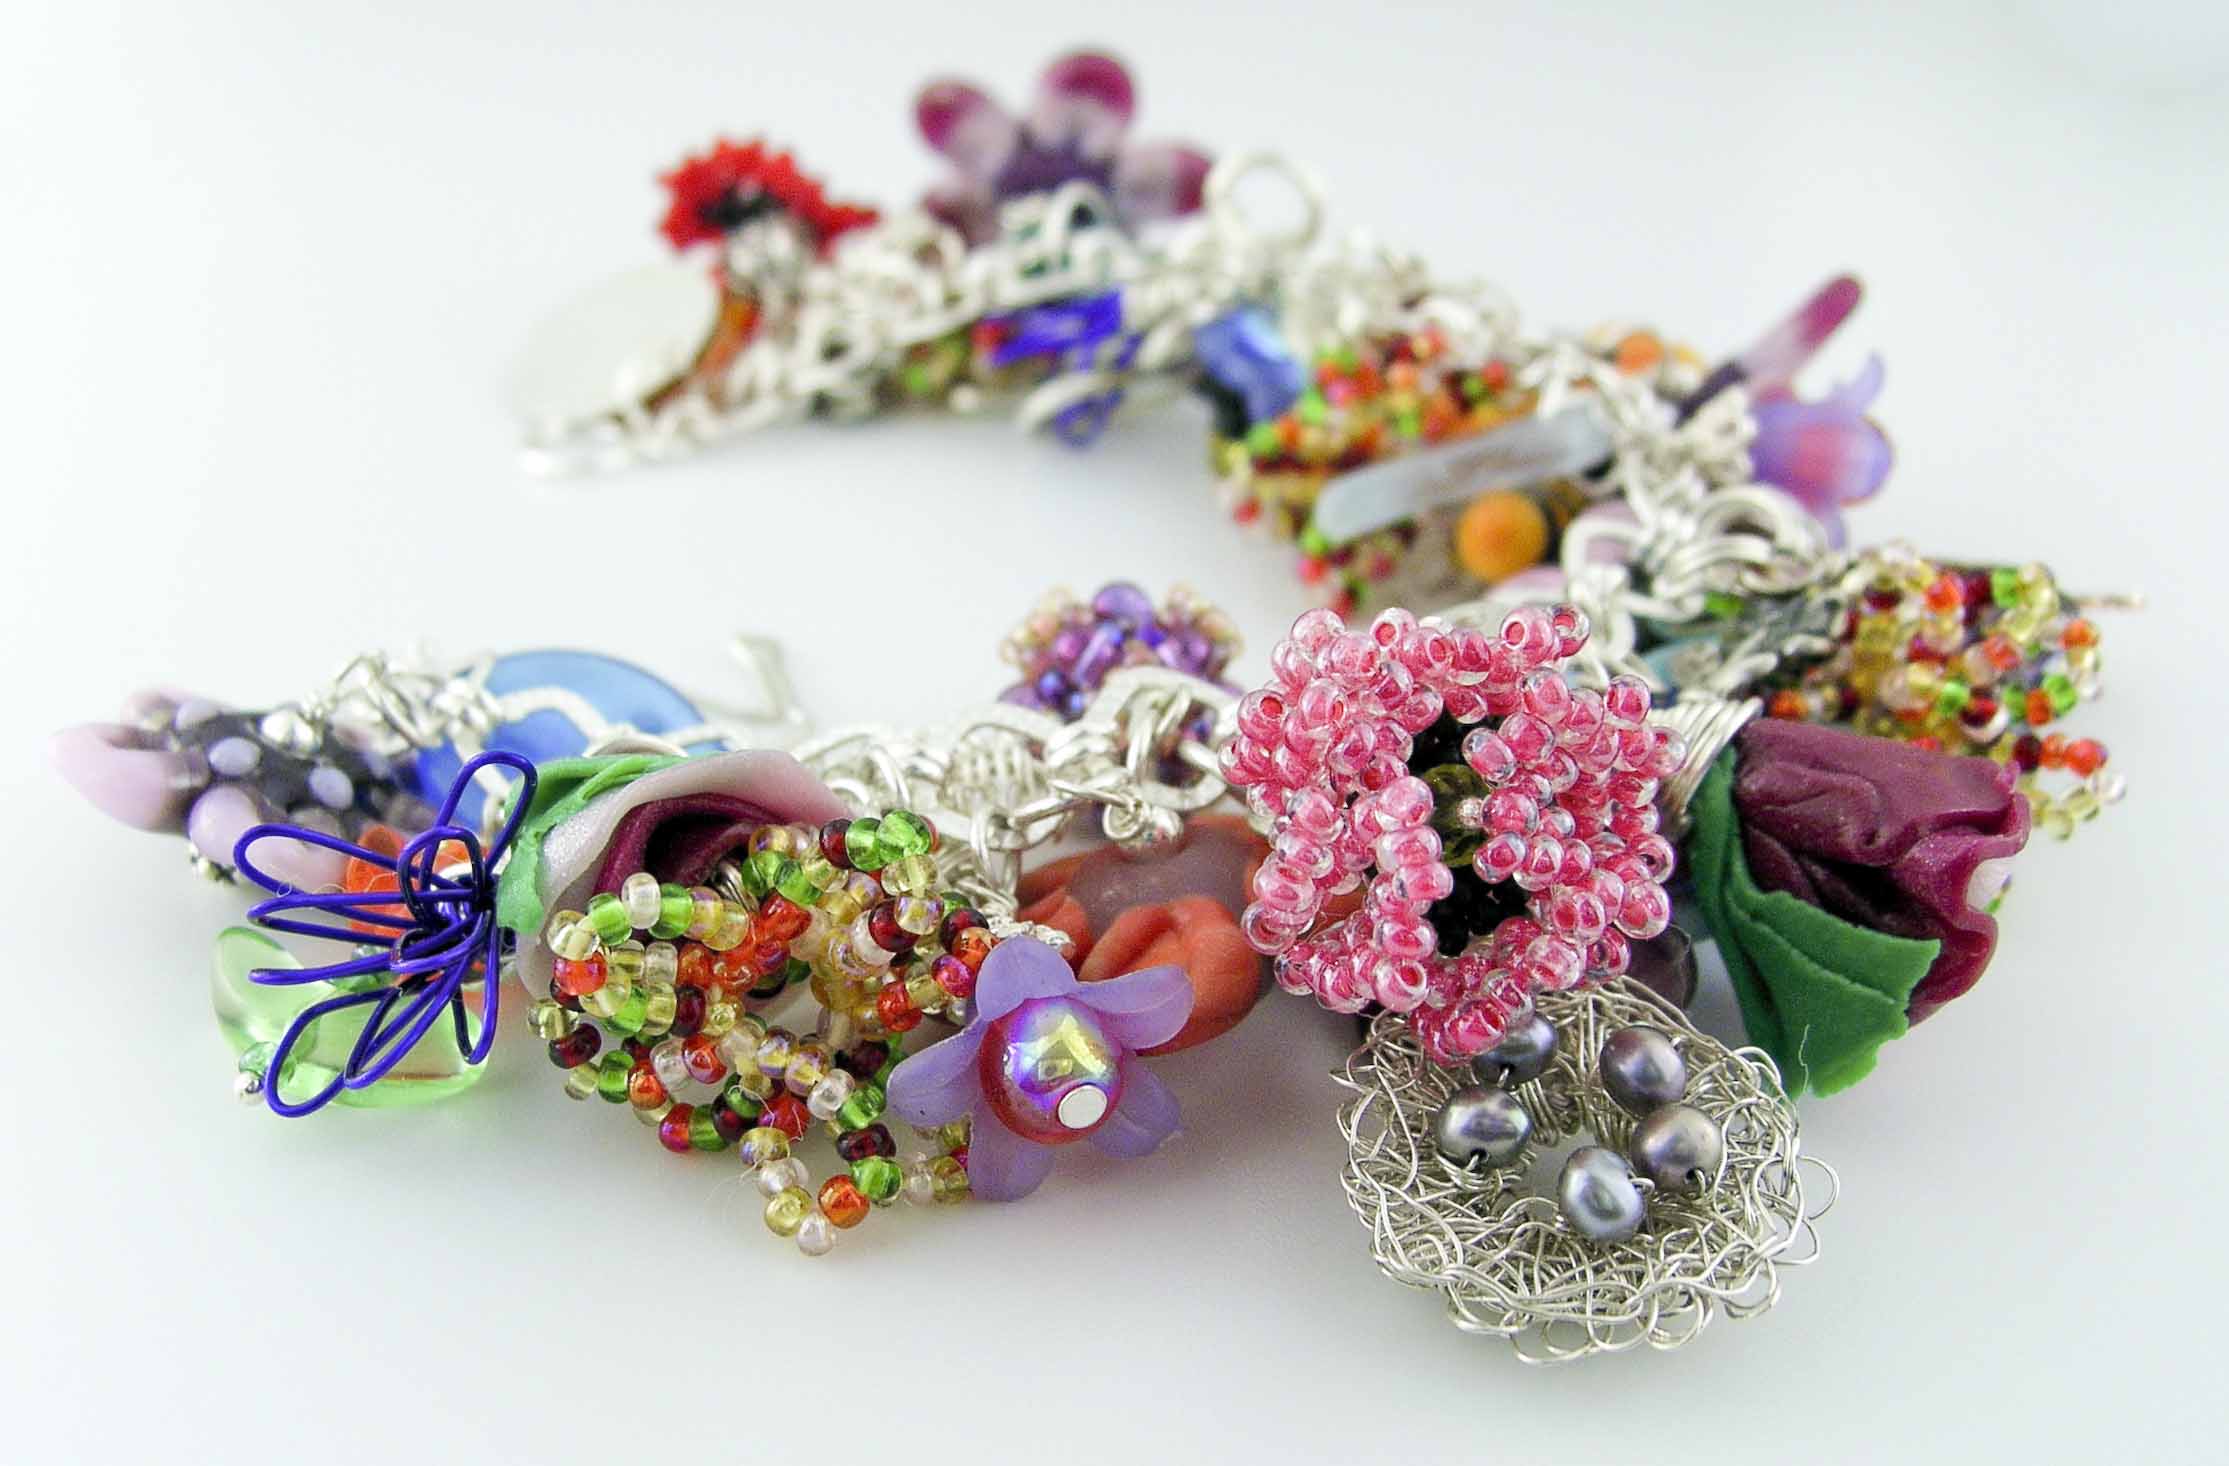
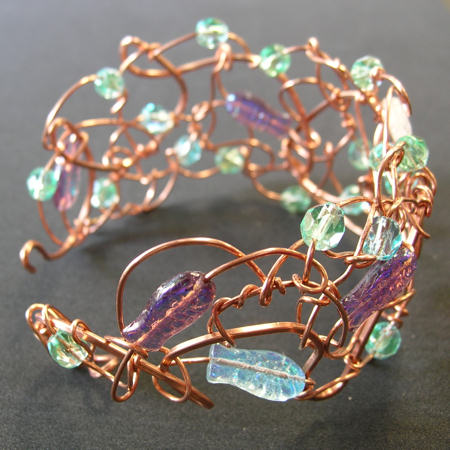
The Starving Jewelry Artists Etsy Street Team is kicking off the holiday season with their second annual “Wrist Candy” Giveaway!  From October 17-November 28, 2010 each time you make a purchase from one of the participating team stores, your name will be entered in the draw to win!  This year’s theme was flowers, and once again team members pooled their considerable talent and enthusiastically contributed!  The result is this very lush and colourful bracelet!

I had the opportunity to play “official photographer” of the bracelet, so I’ve seen and handled it!  I have no doubt that it will bring a lot of cheer and compliments to its lucky winner!

The SATeam blog will have updates over the next few weeks about the giveaway, as well as featuring some of the artists and their work.  Watch for interesting theme articles and collections! Full contest details (as well as how to enter without purchase) can also be found on the blog.

PASSAGE: HSTA Faculty Exhibition – June 30-July 30, 2010

There are times when a call for entry with a specific theme is put out and I draw a complete blank.  I go through all kinds of contortions trying to come up with some sort of inspiration, and then what I end up with looks equally tortured! So I was really excited when, upon finding out out last summer that the theme for this year’s HSTA Faculty Exhibition was going to be “Passage”, I immediately had an idea.

A former boss made the comment to me once that we are all dependent on the products of mining:  “If it can’t be grown, it has to be mined,” he said.  While this statement could almost be considered a universal truth, it is particularly true for jewelers.

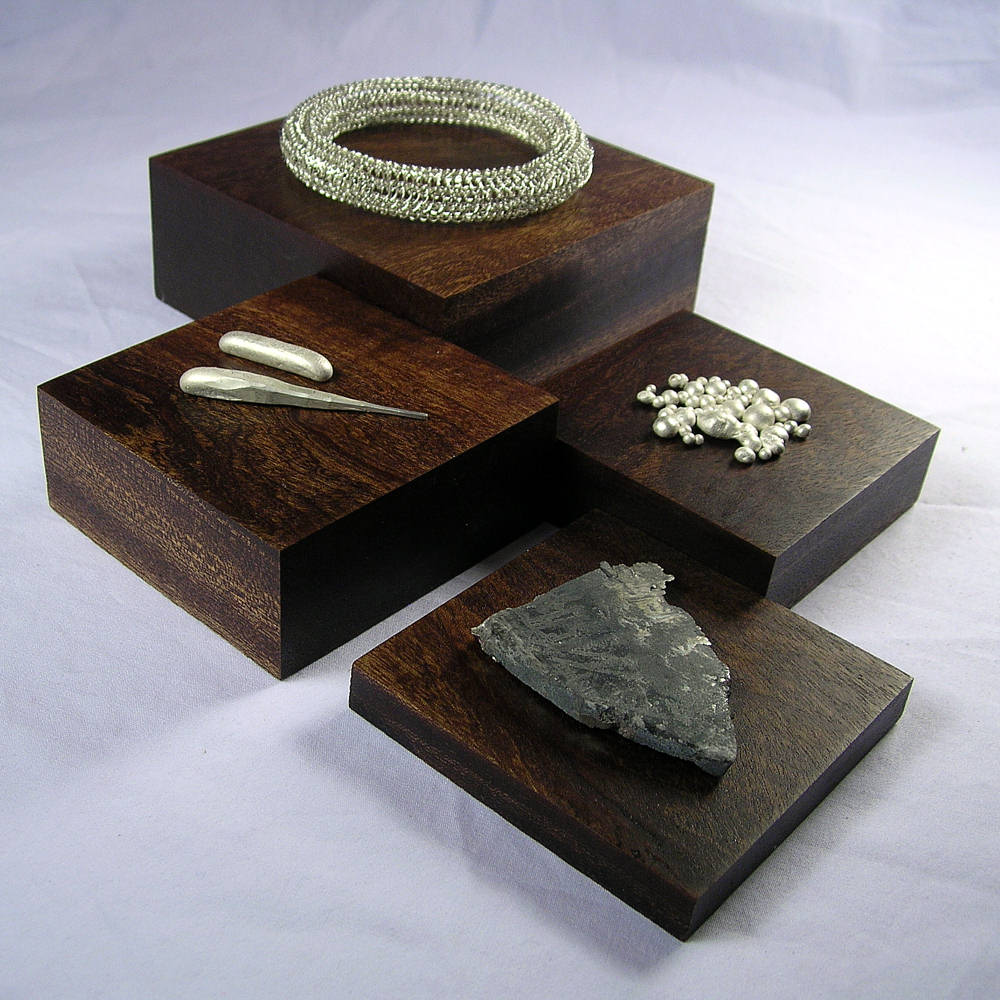
I wanted to show a piece through various stages of its development – the passage from ore to granule, from granule to ingot, from ingot to wire, from wire to jewelry.

Having attended a number of fine craft exhibitions during my time with The Metal Arts Guild of Canada, one thing that has always struck me is how jewellers have dealt with the issue of effectively displaying something so small.

The first MAG show I attended, Behind Glass (2000), directly challenged the problem by asking everyone to display their pieces in shadow boxes.  The pieces I remember were a silhouette of a person – a brooch in silver – attached to a picture of a beach, to give the illusion of it standing at the water’s edge.  Another entry was a ring topped by a tiny sewing machine displayed in front of a old photograph of the artist’s grandmother, who loved to sew.

At the most recent exhibition, MAGC 2067:  Crafting the Future, several of the artists included supplementary props with their pieces.  Anne Lumsden’s piece was displayed over a bed of zebra mussel shells.  Rosalyn Woo’s award winning brooch, “Dear Linda” was envisioned as a birthday gift for its fictitious namesake, and included the “letter” written by the “maker”, Jacob.  Some might argue that the props detracted from the work – turning them into sculpture rather than jewelry – but for me, it added visual interest and helped to put the pieces into the context of the scenarios they were made to represent.

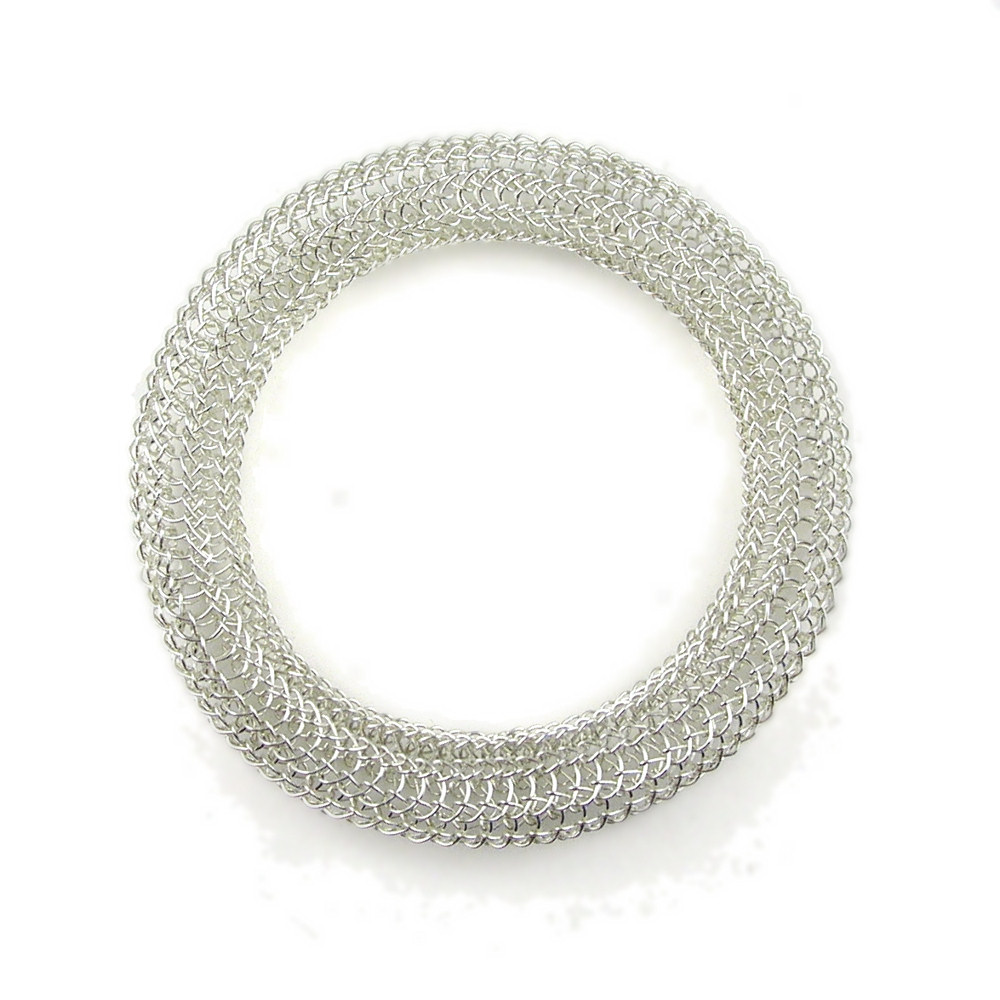
So, for this year’s HSTA Faculty Exhibition, I decided to approach my submission as jewelry cum sculpture.  The pinnacle of the Passage – and the piece that took the longest to construct – is the torus bangle.  Despite my ravings last year after a previous attempt at a torus, the thought of trying again appealed to me.

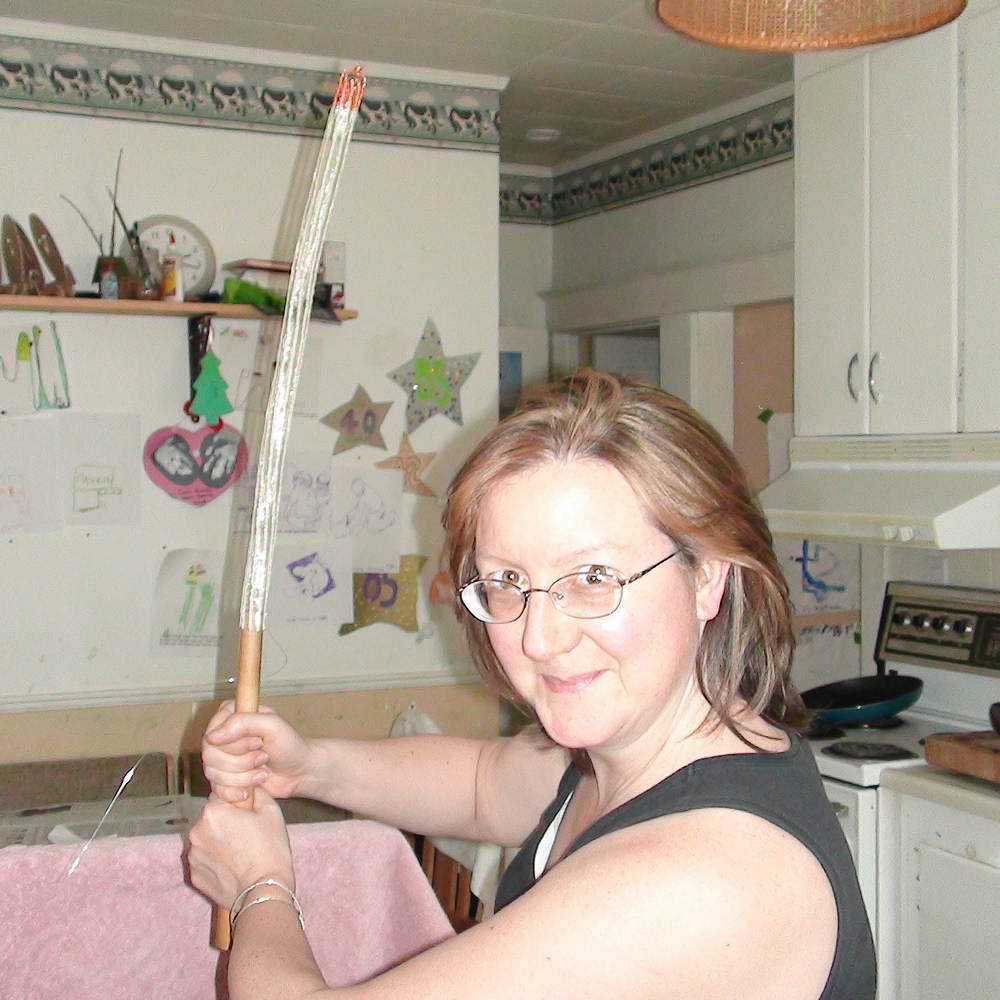
My six year old is currently obsessed with all things LEGO and Star Wars, so when I got the tube to the final length (18″/45 cm) I decided to have a little fun, and took a picture of myself in my best Jedi Princess Warrior pose.
.

My wonderful handyman husband whipped up a wooden drawplate with large holes for me.  (He loves it when I give him an excuse to buy tools!)  After drawing, the length of the tube was over 40″ (101 cm). The reason I made it that long was to give me extra material in case I had to try again.

The technique for making a seamless join is called kitchener stitching.  It’s a common knitting technique for adding pockets to sweaters, or fingers to mittens, etc.  It’s tricky to do in wire, because the wire work hardens very quickly and the join tends to have a bit of a bulge.

I made two attempts at tori before finally working out an effective way of keeping the seam from being visible.

The casting grain and ingots gave me an opportunity to feed my own tool fetish:  I now have a new ingot mold! *grin*

The silver ore came from a vendor at the Bancroft Gemboree last year.  Unfortunately, no locality info was included with the specimen, so I don’t know if the source is a Canadian mine.

The mahogany display blocks play an integral role in delineating the passage through the stages.

I am grateful to be able to work with metal and to make wearable art, and so my submission to the HSTA Faculty Exhibition is really about paying homage.

.

Passage:  From Ore to Jewelry (2010)
Silver ore, slabbed
Grains, 18.43 g, sterling silver, cast
Ingot, sterling silver, cast, 6.844 g
Ingot, sterling silver, cast, forged, drawn, 7.992 g
Torus, sterling silver, viking knit, kitchener stitching, 1.3 cm tube, 8.5 cm OD
Displays, mahogany wood, danish oil finish, various sizes

Every piece of jewelry is the end of a journey.  The metal forms as ore deep underground.  It is mined, extracted and formed into granules, then melted and cast into ingots.  The ingots are compressed and made into a usable shape.  In this case, it was drawn into wire, then knitted into a torus.

We see and admire only the final form, and acknowledge only the artist whose name is attached to it; yet the piece has been touched by many hands.  I wanted to recognize and thank those who labour behind the scenes to bring my jewelry into being.

.

PASSAGE: HSTA Faculty Exhibition
Rails End Gallery & Arts Centre
23 York Street
Haliburton, Ontario, K0M 1S0
June 30 – July 30, 2009
www. railsendgallery.com

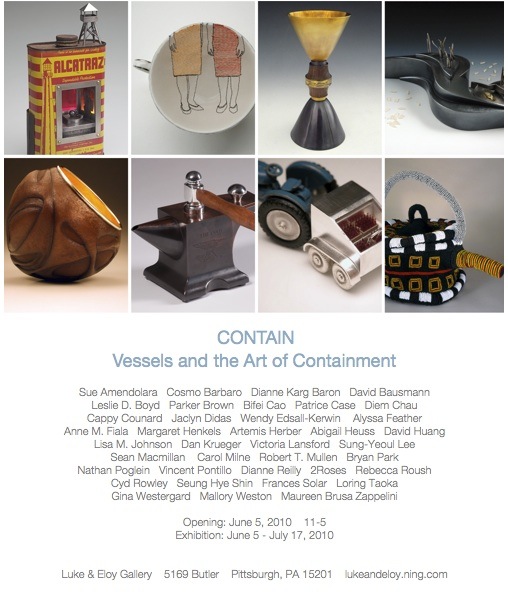
New Exhibition: “Contain – Vessels and the Art of Containment”

I’m pleased to announce that Shiva’s Pomander has been accepted for exhibition in “Contain – Vessels and the Art of Containment” at the Luke & Eloy Gallery in Pittsburgh, PA.  The exhibition opens on June 5, 2010 and will continue until July 17.

Shiva’s Pomander was previously exhibited as part of the HSTA Faculty Show “Vessel” at the Rail’s End Gallery in 2009.

It will be on display along with the work of 37 other talented artists.

CONTAIN – Vessels and the Art of Containment
Luke & Eloy Gallery
5169 Butler
Pittburgh, PA

Opening:  June 5, 2010  11 a.m – 5 p.m.

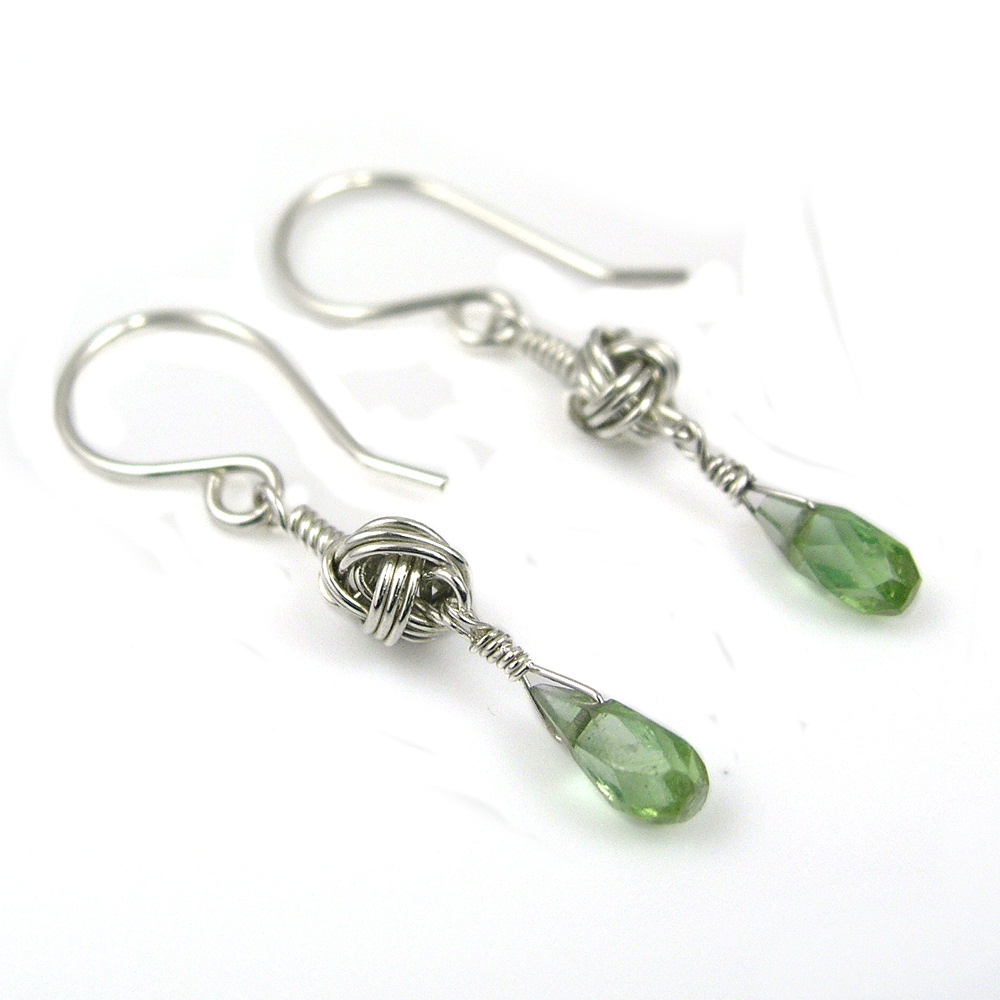
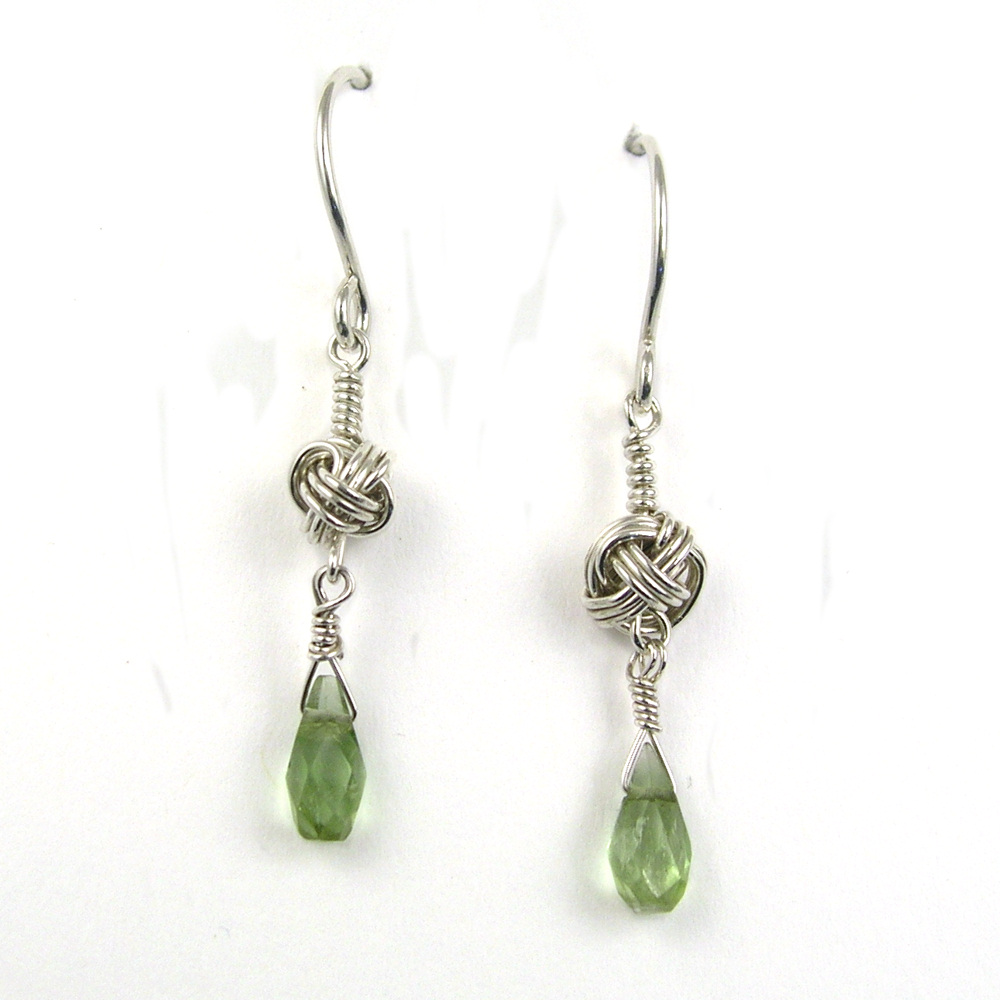
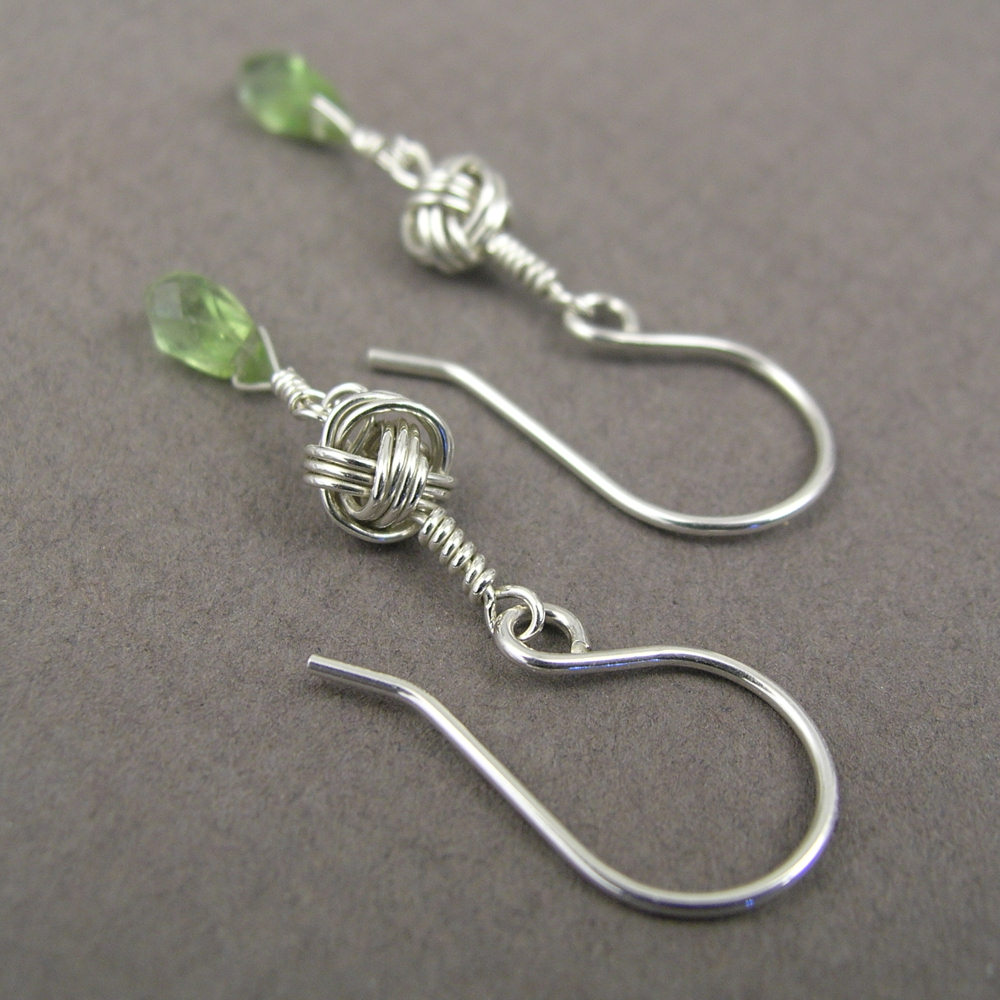
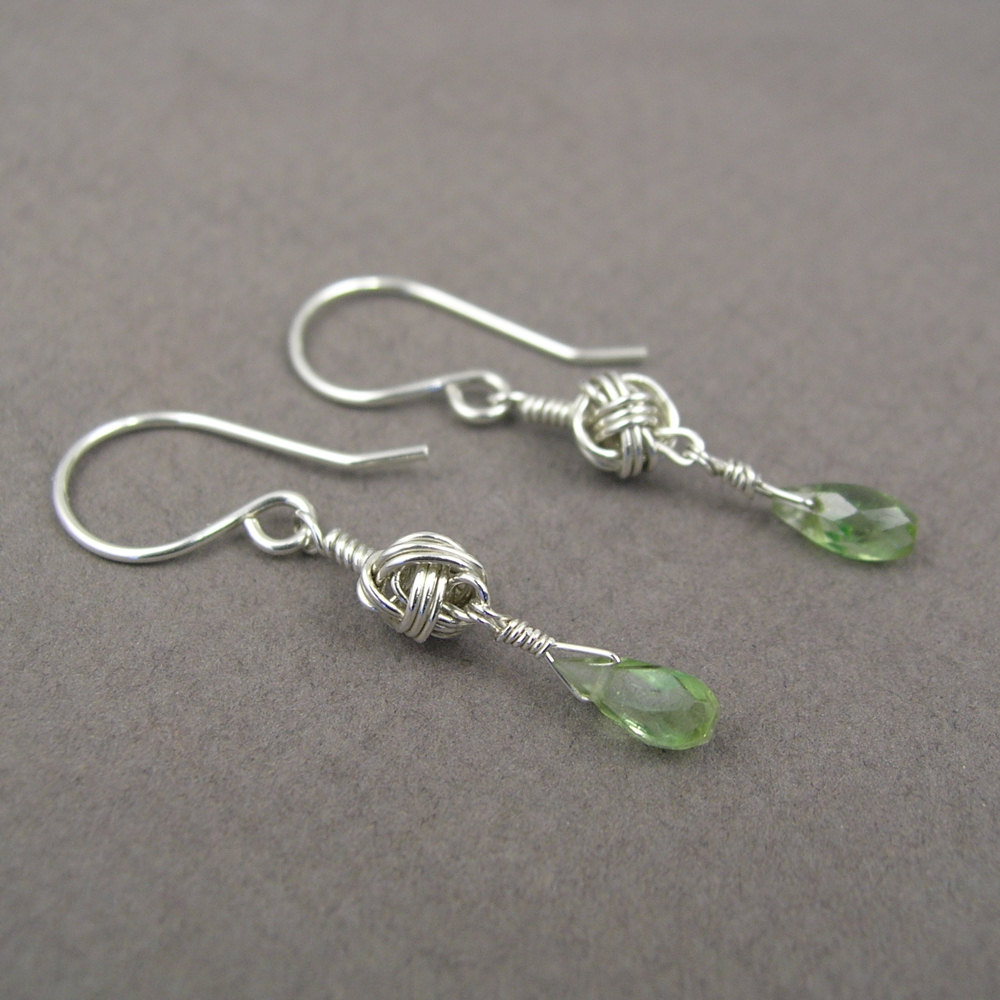
YOJ10-15 Knotted Earrings 3

Knotted Earrings 3 (2010)
Sterling silver, fine silver, tourmaline
Constructed, cold-joined
L 3.7 cm x W 0.5 cm (W 1.45″ x L 0.2″)

Continuing on from last week, since I made several of the Monkey’s Fist knots, I made another pair of earrings!

I’ve been doing some experimenting with photography lately, putting my pieces on a white background instead of the medium gray.  I’m looking for ways to make the images “pop” more – in my recent work I’ve been using a lot of stones that have the same value as the background, and it makes the jewellery look dull.  “Value” in colour terms refers to how light or dark it is.  (To see check the value of your stone, stare at the photo with squinted eyes – if the stone disappears it has the same value as the background.)  In order for a photo to have visual interest, it has to be either lighter or darker than the background, otherwise the eyes see what’s there, but the brain registers “ho hum”.

It’s a bit more work to deal with a white background – inevitably, and even though I have a white balance setting on my camera – the raw photo comes out slightly grey.  Photoshop can adjust the balance it easily, but then I usually still have to do some extra clean up.  It’s a bit tricky to lighten the background enough to get rid of “noise” but not so much that the jewellery bleaches out.

From a print perspective, (putting on my editor hat for a moment), getting photos with white background is a godsend for layout.  I can plunk them down anywhere on a page and build text around them.  Or I can crop and put several images close together – something that isn’t possible when the jewellery is shot on a grey or staged background.   There are no distractions – you look at the jewellery and nothing else.

While they work for print and web, white backgrounds do *not* work well for jury photos.  I had the opportunity to sit in on a jury for a show recently (something I highly recommend BTW, it’s very educational), and I noticed that the photos with white backgrounds were always very jarring.  Backgrounds with a value of medium to dark (but not black) and *absolutely no props* worked best for jury photos.  Prop shots work well for Etsy, but are distracting in jury.

More photos:

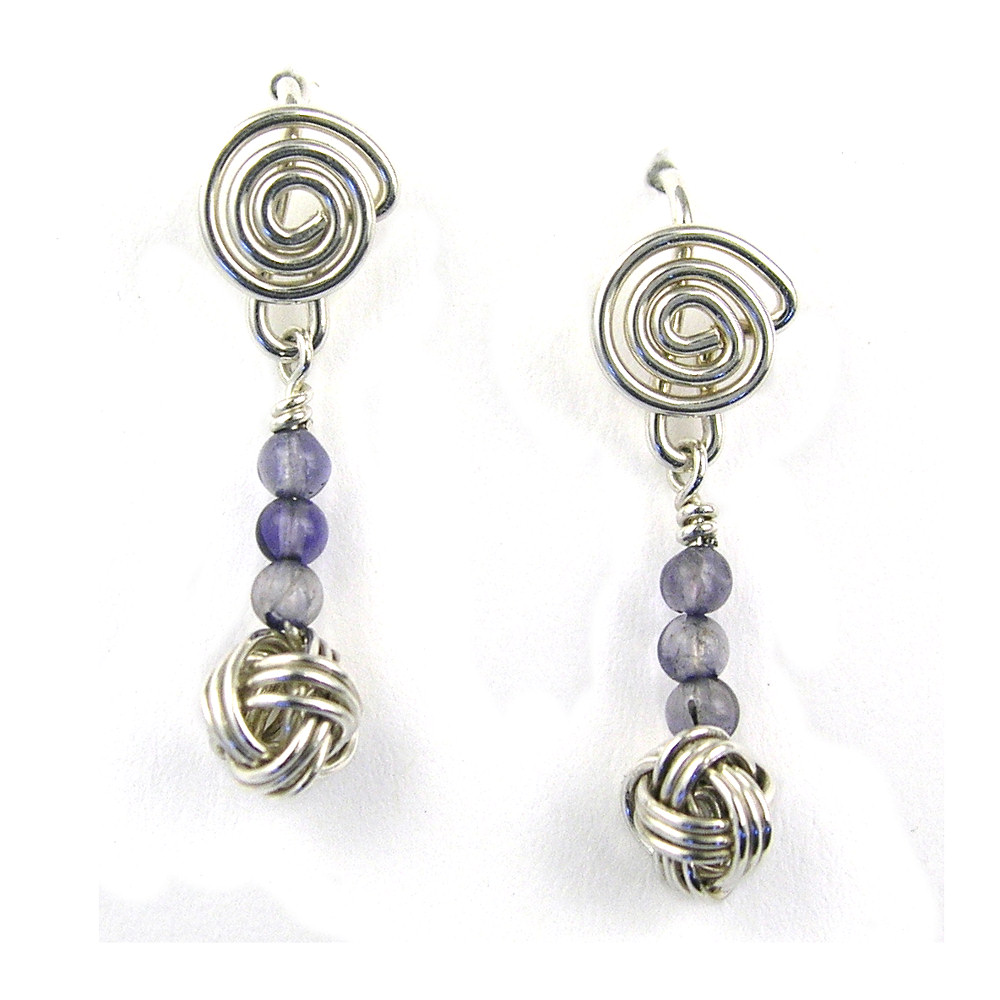
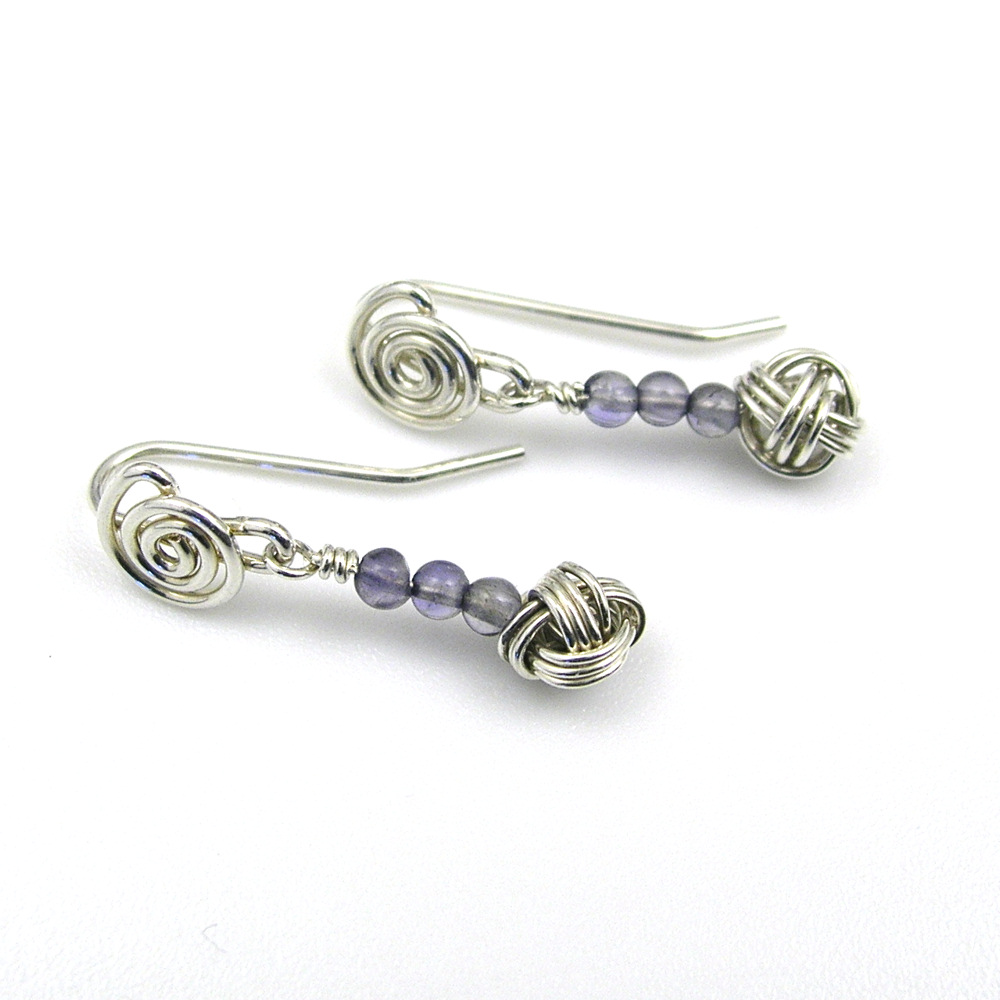
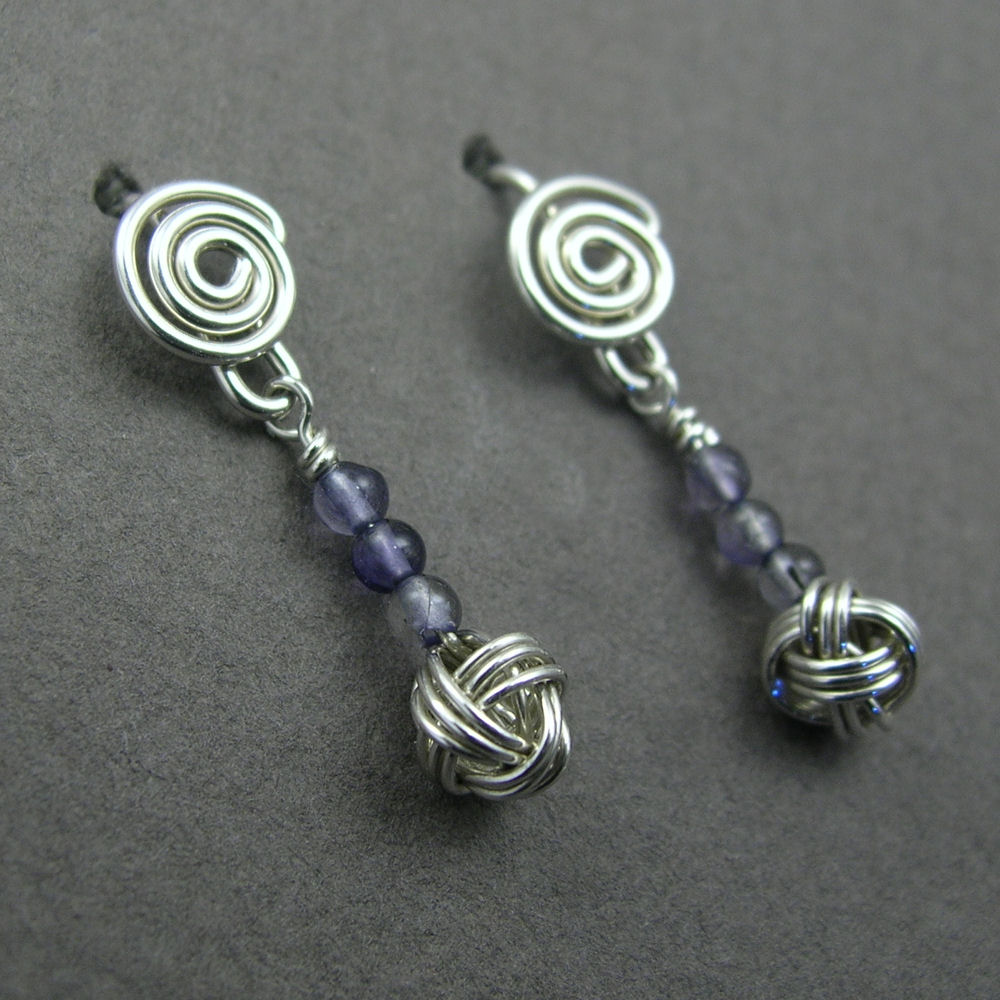
YOJ10-14 Knotted Earrings 2

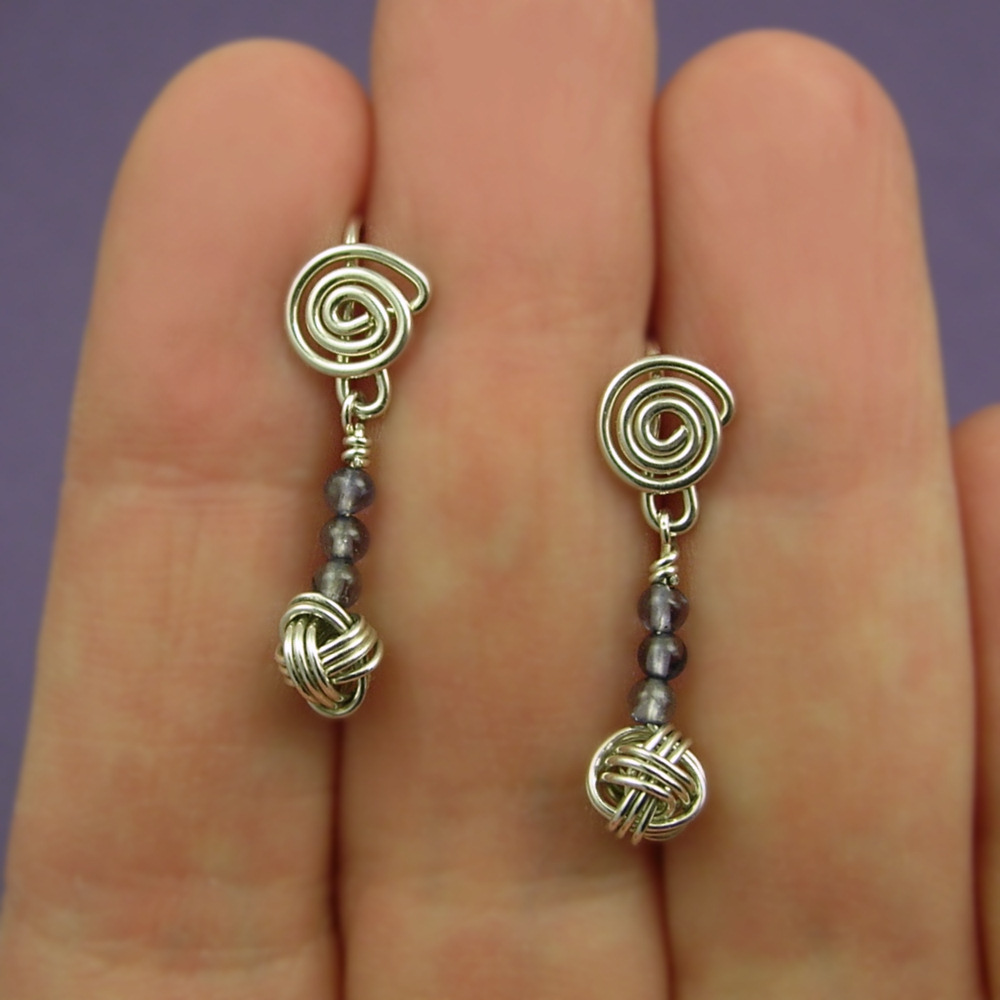
Knotted Earrings 2 (2010)
Sterling silver, iolite
Constructed, cold-joined
L 2.5 cm x W 0.7 cm (L 0.98″ x W 0.275″)

My life is all about choices:  if I choose to focus on one area of my life, another area gets sacrificed.  For the past few weeks, I’ve had to focus on some group endeavours, and so my work on YOJ projects ground to a halt.  I’m working towards finding balance, but haven’t found it just yet.

For this week’s project, my focus was on making bridal jewellery.  My thoughts were on “something blue” and “tying knots”.

The Monkey’s Fist is a classic macramé knot, usually used as a weight or ornament on the end of a rope.  Tying them in rope is relatively easy.  When I learned it as a child, it was just a matter of sticking a marble between two fingers, and wrapping the rope around the marble and fingers, then around the marble through fingers and then through the loops created by the fingers.  Then the loops were pulled tight.

In wire, the stiffness of the metal, and its tendency to kink makes tying challenging.  There is also the issue of trying to get the proportions right:  thinner gauge wire is more flexible to tie, but the knot becomes very small and fiddly.  I found it impossible to tie wire around a bead without it slipping all over the place.  Pulling the loops tight at the end was also a non-starter, so I had to make the initial wraps as close to round as possible – challenging since without a bead in the centre, the tendency is to wrap ovals.  I ended up creating an invent-a-tool to help.

It took a bit of practice to get consistent results (doesn’t everything?), but I did end up with a satisfying “knot”. To get the “blue” part of the earrings, I decided on adding some pale 2 mm iolites. I would love to try these in a larger gauge of wire, but I think that would really only be possible with fine silver.  Sterling just gets too stiff too fast.

More photos: